p5.dom Library
DOM stands for Document Object Model which refers to a set of methods that allow code to interact with a web browser to provide Graphical User Interface (GUI) components such as buttons, sliders, and input boxes – often called widgets. The p5.dom library provides access to the DOM and greatly simplifies how we can get user input in our p5.js programs.
In this lesson, we’ll look at buttons, sliders, and input boxes. I didn’t mention it earlier, but accessing the webcam was also a feature provided by the p5.dom library. Unlike p5.speech, and p5.The p5.dom library is so commonly used, that the p5.js online editor automatically makes it available to us for use.
Buttons
A while back, in lessons 1-10 and 1-11, we talked about how to detect mouse roll-overs and clicks and how to implement the code for a clickable button. The p5.dom library provides a simpler and powerful alternative to writing your own button code from scratch. Here’s an example:
|
1 2 3 4 5 6 7 8 9 10 11 12 13 14 15 16 17 18 19 20 21 22 23 |
let myButton function setup() { let buttonColour = color(50, 50, 200); createCanvas(400, 400) myButton = createButton('Click Me!') myButton.style('font-size', '24px'); myButton.style('background-color', buttonColour); myButton.style('color', color(255)); myButton.position(145, 180) myButton.mousePressed(changeBackground) background(0) } function draw() { // Empty, not needed for this demo } function changeBackground() { background(random(255), random(255), random(255)) } |
Line 8 instantiates a new Button with a given label (argument). The following few lines use the style() method to define how the button will look – remember HTML/CSS? Any colour values must be passed as a colour argument to the style() method.
 The position() method on line 12 will (re)position the button wherever you want on the canvas. On line 13, the mousePressed() method is used to link the button to the event handler function changeBackground(), which I’ve defined on lines 21 to 23. This function randomly changes the background colour of the canvas. You can name the event handler function anything you like. When the program is run, if you click on the button p5.js will automatically run the changeBackground() function to handle the button click event.
I hope you can appreciate how much easier this is than making your own button from scratch – this is the benefit of code reuse in action! The style() method makes this especially powerful because you can use what you know about CSS to easily configure the appearance of the button. This is another benefit of learning how to code – often what you learn in one language is very relevant to other languages.
Sliders
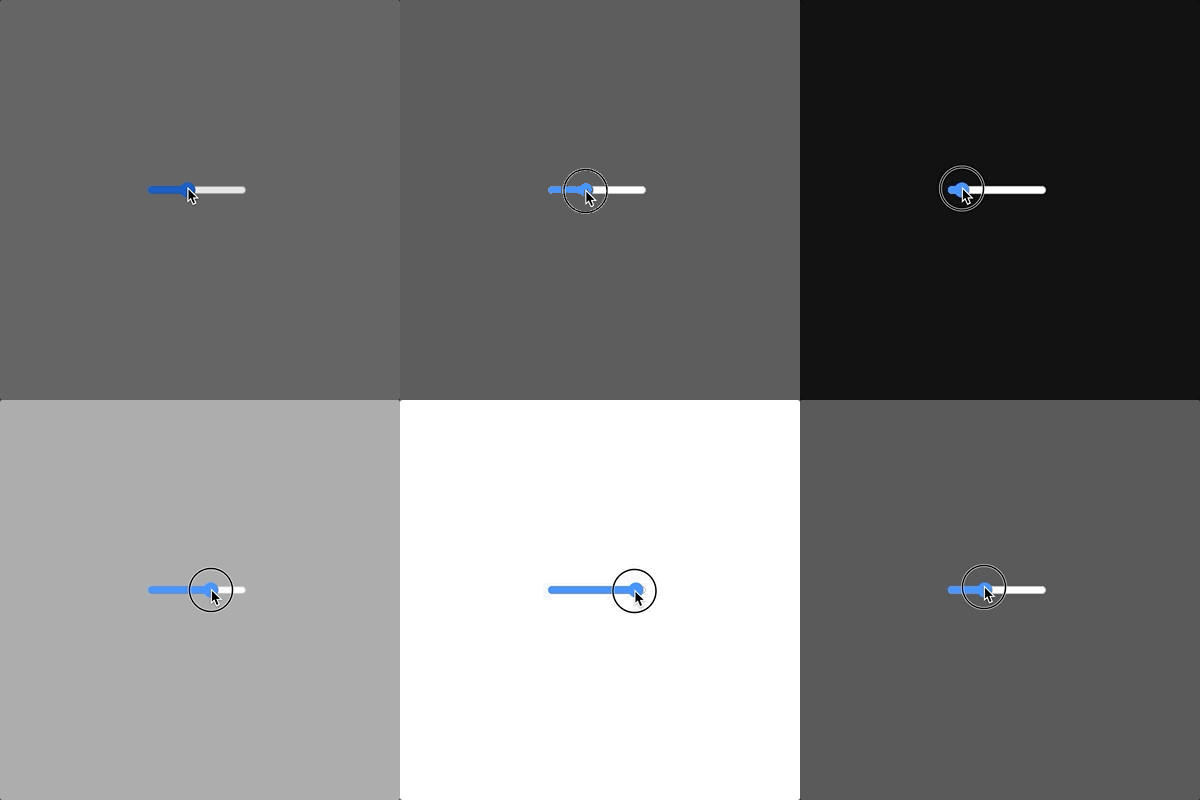
A slider is a GUI widget that allows you to select a value from a range of values by moving (sliding) an indicator (often called a “thumb”) back and forth with the mouse. That may sound more complicated than a button, but it’s actually easier to implement in code. Here’s an example:
|
1 2 3 4 5 6 7 8 9 10 11 12 13 14 |
let mySlider function setup() { createCanvas(400, 400) mySlider = createSlider(0, 255, 100) mySlider.style('width', '100px') mySlider.position(145, 180) } function draw() { let sliderValue = mySlider.value() background(sliderValue) } |
 Line 6 instantiates a Slider object. The first argument indicates the minimum value, and the second argument is the maximum value of a range. The third argument is the initial/default starting value for the slider. As with buttons, you can use the style() method to control the appearance of the slider, and the position() method to (re)position it on the canvas.
There is no event handling function required for sliders. Instead, call the value() method whenever you need to check the current value of the slider. In this example, the value will be a number between the range 0 and 255 (inclusive) and will be used to change the background colour of the canvas.
Input Boxes
An input box provides a way for users to type keyboard input into a program. Let’s look at the code:
|
1 2 3 4 5 6 7 8 9 10 11 12 13 14 15 |
let myInput function setup() { createCanvas(400, 400) myInput = createInput("optional default") myInput.position(50,200) myInput.size(200) myInput.input(myInputEvent) background(0) } function myInputEvent() { print("Typed so far:", myInput.value()) } |
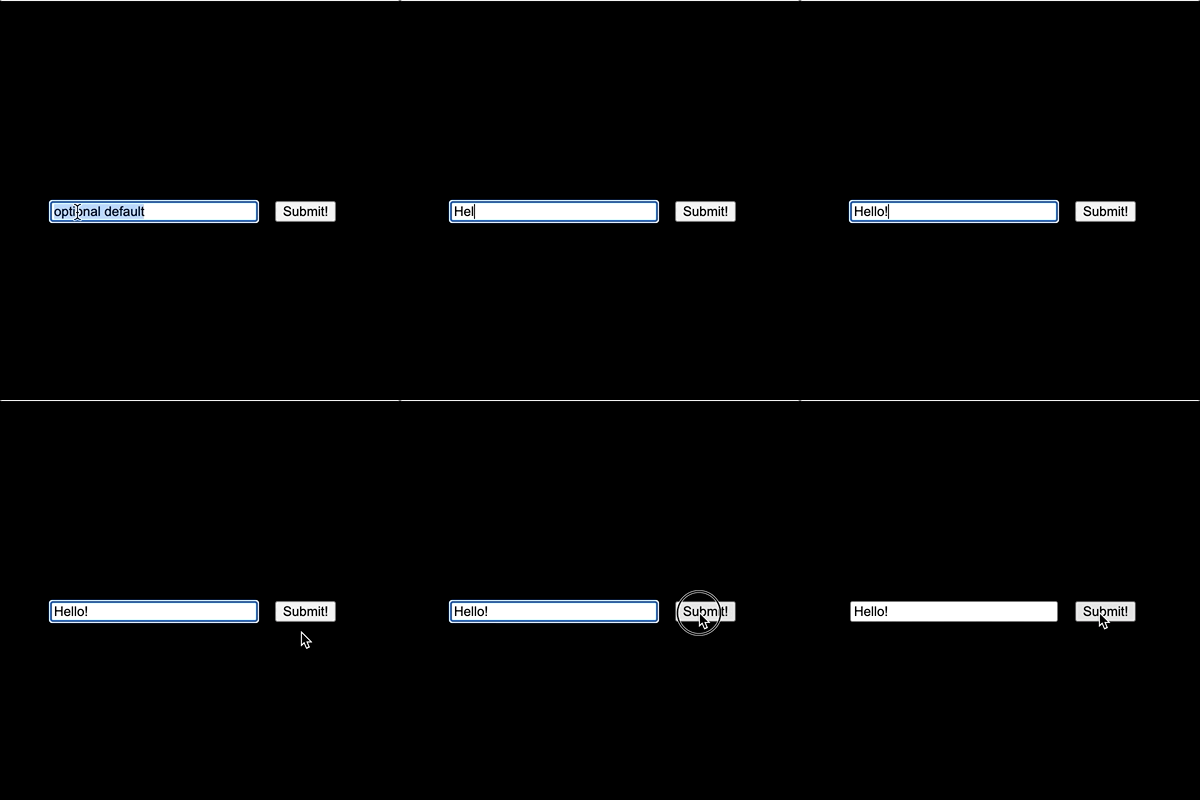
Line 5 instantiates an Input box, the (optional) argument provides a default/initial value to put in the input box. At this point, the rest should be self-explanatory and works much like a button. The input() method on line 8 sets an event handler function that will be called each time a key is pressed in the input box.
 Since it’s more common than you would want the user to type their complete input before triggering an event rather than an event for each keystroke, it would make more sense to add a button to handle event handling instead. Here’s a more user-friendly approach:
|
1 2 3 4 5 6 7 8 9 10 11 12 13 14 15 16 17 18 |
let myInput let myButton function setup() { createCanvas(400, 400) myInput = createInput("optional default") myInput.position(50,200) myInput.size(200) myButton = createButton('Submit!') myButton.position(275, 200) myButton.mousePressed(myButtonEvent) background(0) } function myButtonEvent() { print("Submitted: ", myInput.value()) } |
You Try!
-
- Create a program with 3 sliders, labelled Red, Green, and Blue. Each slider should have a range of 0 to 255. As the sliders are moved, change the background colour of the drawing canvas to match.
- There are other GUI widgets supported by the p5.dom library. Investigate the createCheckbox(), createSelect(), and createRadio() Write a program to demonstrate how they work. For example, create a contact information dialog.
- Investigate the scribble library – check out the Libraries section of the p5.js online reference [ https://p5js.org/libraries/ ] for detailed information. Create an example to demonstrate how this library works.