p5.js supports some pretty impressive image processing capabilities. We’ve already seen how to position and resize images, but it’s also possible to adjust (tint) an image’s colours and apply built-in filters to create cool image effects!
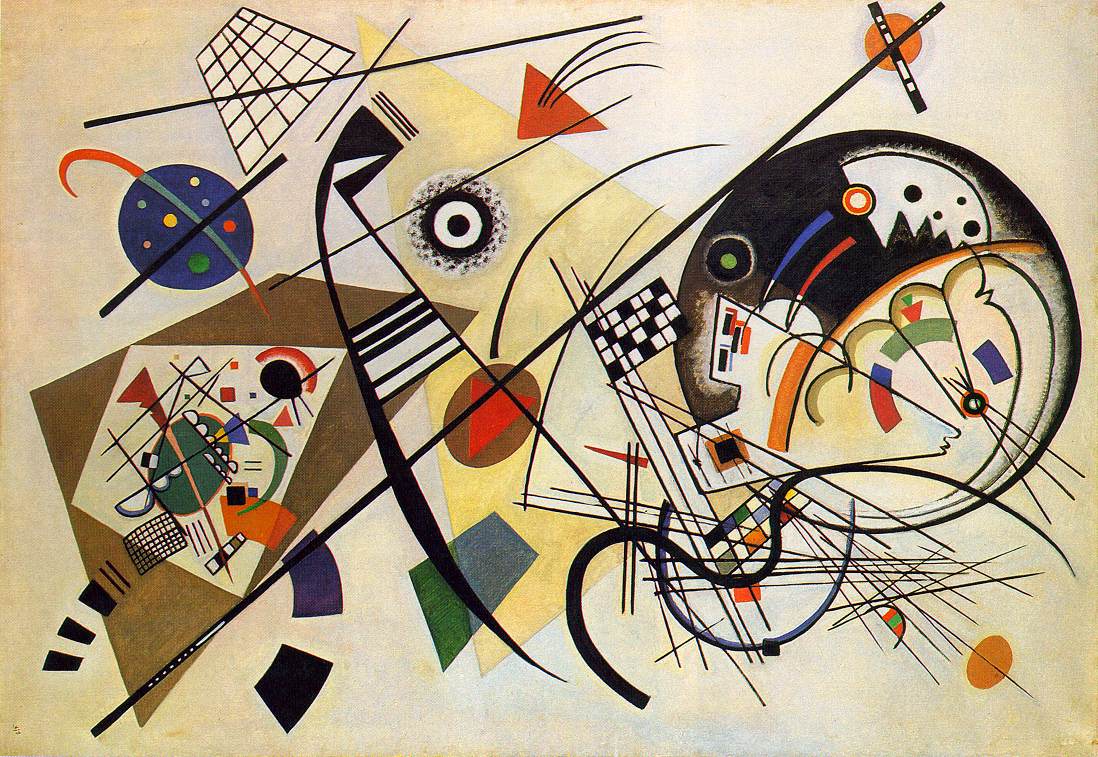
Here are the two images I’m going to manipulate the examples below:

Modifying Image Colour
The tint() function provides an easy way to modify an image’s colour and transparency. Here’s an example:
|
1 2 3 4 5 6 7 8 9 10 11 12 13 14 15 16 17 18 19 20 |
let myImage function preload() { myImage = loadImage("images/kandinsky.jpg") } function setup() { createCanvas(400, 400) } function draw() { // set the image's tint tint(100, 0, 204) // bluish tint // tint(200,200,200) // light-gray tint // tint(0,0,0) // makes entire image black // tint(255,255,255) // NO CHANGE image(myImage, 0, 0) } |
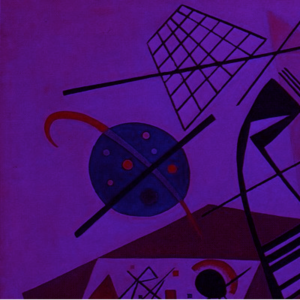 On line 14 we tell p5.js to tint anything drawn by following image() function calls with a bluish tint. You can experiment with different RGB values here. In the comments are a few other examples.
Modifying Image Transparency
By adding a fourth argument to the tint() function we can also control an image’s transparency level. Consider the following code:
|
1 2 3 4 5 6 7 8 9 10 11 12 13 14 15 16 17 18 19 20 |
let myImage let myDoggy function preload() { myImage = loadImage("images/kandinsky.jpg") myDoggy = loadImage("images/dog.jpg") } function setup() { createCanvas(400, 400) } function draw() { tint(255,255,255,126) background(myImage) tint(153, 204, 255, 150) // blue tint, 150 transparency tint(255, 255, 255, 150) // NO tint, 150 transparency image(myDoggy, mouseX, mouseY) } |
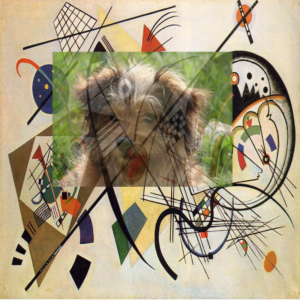 By moving the mouse around you will see that the dog image is transparent. We’ve talked about alpha (transparency) values before in lesson 1-3. The alpha value you specify must also be in the range 0 (fully transparent) to 255 (fully opaque). To change an image’s transparency without changing its colour, you can specify a white tint:
tint(255, 255, 255, 150) // NO tint, 150 transparency
Applying Built-in Filters
Image filters allow us to change the appearance of an image by altering the pixels in some manner; for example, adjusting the brightness or applying special effects. The filter() function can be used to modify the entire canvas:
|
1 2 3 4 5 6 7 8 9 10 11 12 13 14 15 16 17 18 19 20 21 22 23 24 |
let myImage let myDoggy function preload() { myImage = loadImage("images/kandinsky.jpg") myDoggy = loadImage("images/dog.jpg") } function setup() { createCanvas(400, 400) } function draw() { background(myImage) image(myDoggy, 100, 100) filter(THRESHOLD, 0.5); //filter(GRAY); //filter(INVERT); //filter(POSTERIZE, 4); //filter(BLUR, 6); //filter(ERODE); //filter(DILATE); } |
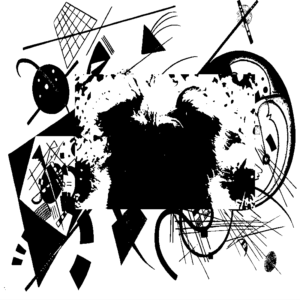 Line 17, converts the canvas to black and white depending on whether each pixel is above or below a certain level of brightness value. It does this by calculating the brightness of each pixel, then converting the ones that are brighter than the threshold value to white and the darker ones to black. The threshold value is a brightness scale between 0.0 (black) and 1.0 (white).
I have commented out many other filter options – try them out! Also, have a look in the online p5.js reference for more detailed descriptions of each. Filters are applied in order, and you can apply more than one if you like to create some pretty interesting effects!
Filtering Individual Images
Rather than apply filter(s) to the entire canvas, you might prefer to apply different filters to different images. Because images are objects, they include their own filter() method that only affects that image. For example:
|
1 2 3 4 5 6 7 8 9 10 11 12 13 14 15 16 17 18 |
let myImage let myDoggy function preload() { myImage = loadImage("images/kandinsky.jpg") myDoggy = loadImage("images/dog.jpg") } function setup() { createCanvas(400, 400) myImage.filter(GRAY) myDoggy.filter(BLUR,10) } function draw() { background(myImage) image(myDoggy, 100, 100) } |
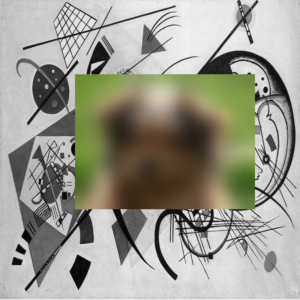 Notice how the GRAY filter on line 11 only applies to myImage, and the BLUR filter on line 12 only affects myDoggy. For this to work properly, you must define a preload() function and load all of your images in there, rather than within setup(). Also, for efficiency, it makes sense to apply filters once within the setup() function rather than over and over in the draw() function.
Using a Webcam
A video is just a series of images. In p5.js it’s easy to capture video from a webcam and even apply the filters we discussed above to create some interesting effects. Here’s a simple example:
|
1 2 3 4 5 6 7 8 9 10 11 12 13 |
let myWebcam function setup() { createCanvas(400, 300) myWebcam = createCapture(VIDEO) myWebcam.hide() } function draw() { background(220) image(myWebcam, 0, 0, width, width * 0.75) filter(THRESHOLD, 0.5) } |
Note: When you run this example, your web browser will ask you to grant access to the webcam. You will need to allow access for this code to work.
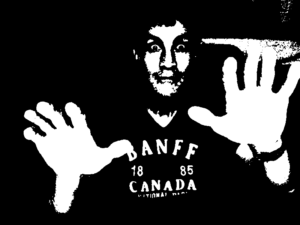 Just as createCanvas() creates a graphics canvas for you, line 5 calls createCapture(VIDEO) to access the webcam on your computer and display its output just below the drawing canvas area. Because we want to resize and display this output inside our canvas area, the hide() method is used to hide it. Try commenting out this line and see what happens.
On line 11, we use the image() function as we did for images, but this time specifying myWebcam as the source, and positioning it at the top-left corner of the canvas. The two additional parameters allow us to resize the webcam video to fit within the canvas. Most webcams use a 4:3 aspect ratio, meaning that the original video stream height equals 3/4 the width. Finally, on line 12, you’ll note that we can actually apply filters to the video!
You Try!
-
- Find an image and experiment with colour, transparency, and applying different filters.
- If you have a webcam at home, try the webcam example and play around with the filters.