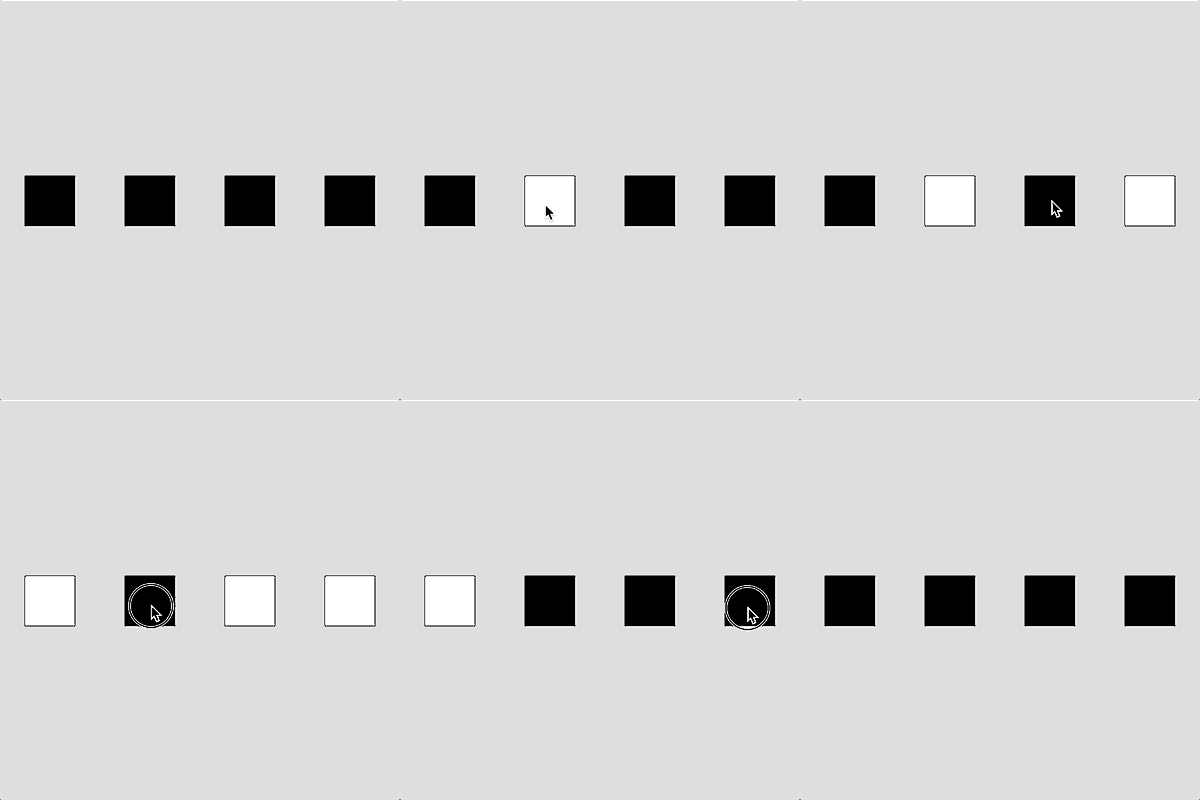
A Powerful Combination!
We’ve seen that arrays are a very convenient way of storing related data and that objects are a great way of organizing and reusing code. What if we put these two ideas together? We’ll see in this lesson that arrays of objects are a very powerful combination!
Here’s our Ball class again:
|
1 2 3 4 5 6 7 8 9 10 11 12 13 14 15 16 17 18 19 20 21 22 23 24 25 |
class Ball { constructor(x, y, speed) { this.ballX = x this.ballY = y this.speed = speed } display() { // Draw the ball fill(255, 255, 0) ellipse(this.ballX, this.ballY, 40, 40) } bounce() { // Reverse direction if we've hit a canvas edge if (this.ballX > width || this.ballX < 0) { this.speed = this.speed * -1 } } move() { // Change the x location of the ball this.ballX = this.ballX + this.speed } } |
In the exercises for 2-6, I asked you to enhance this class such that a Ball object can travel in any random direction, bouncing off all four sides of the canvas, and changing to random colours. You can use your enhanced Ball class instead if you prefer.
It doesn’t matter how many Ball objects we instantiate from this class. We don’t need to change this code in any way because the Ball class doesn’t know (or care) how many objects are instantiated from it.
Without arrays, this is how we instantiated just 3 Ball objects before:
|
1 2 3 4 5 6 7 8 9 10 11 12 13 14 15 16 17 18 19 20 21 22 23 24 25 26 |
let myBall1 let myBall2 let myBall3 function setup() { createCanvas(400, 400) myBall1 = new Ball(100, 100, 2) myBall2 = new Ball(200, 200, -3) myBall3 = new Ball(300, 300, 1) } function draw() { background(220) myBall1.display() myBall2.display() myBall3.display() myBall1.bounce() myBall2.bounce() myBall3.bounce() myBall1.move() myBall2.move() myBall3.move() } |
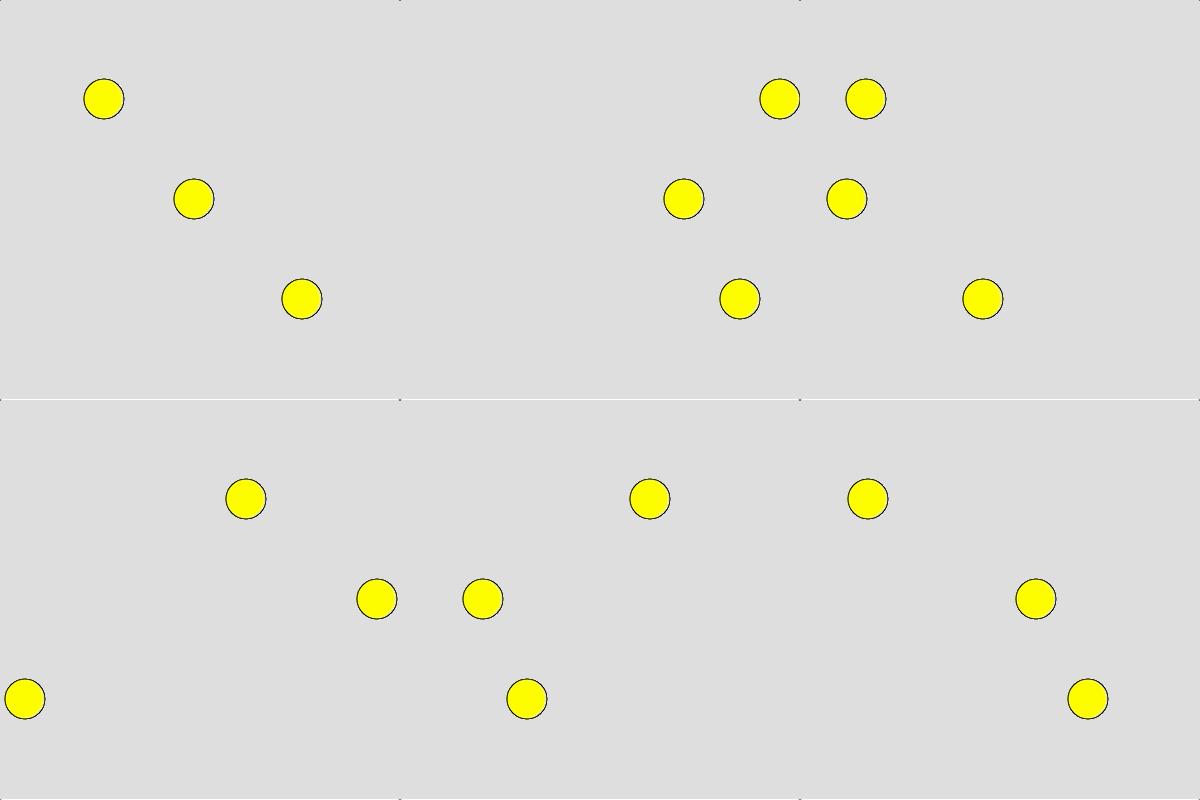 Think for a moment how many extra lines of code we would need to add if we wanted just 1 more Ball object? If you said 5 lines, you’re correct! What if we wanted 10 more Ball objects? Now imagine if we needed 100 Ball objects? You get the idea… There would obviously be a lot of cutting and pasting of code required.
Using an array of Ball objects the solution to this problem becomes much more efficient:
|
1 2 3 4 5 6 7 8 9 10 11 12 13 14 15 16 17 18 19 20 21 |
// Declare an empty array let ballArray = [] function setup() { createCanvas(400, 400) // Instantiate 10 Ball objects for (let count = 0; count < 10; count++) { // append each new Ball to the ballArray append(ballArray, new Ball(random(width), random(height), random(-5,5))) } } function draw() { background(220) // Control each Ball object in the ballArray for (let index = 0; index < ballArray.length; index++) { ballArray[index].display() ballArray[index].bounce() ballArray[index].move() } } |
That’s it! Even though we now have 10 Ball objects in play, the code is actually a couple of lines shorter than 3 balls without using an array.
On line 2 we create an empty ballArray. In the setup() function, we use a for loop to instantiate 10 Ball objects with a random x, y, and speed values and append() each new object to the ballArray. Similarly, in the draw() function we use a for loop to process each Ball object in the ballArray, calling the move(), bounce(), and display() function for each one. Very efficient!
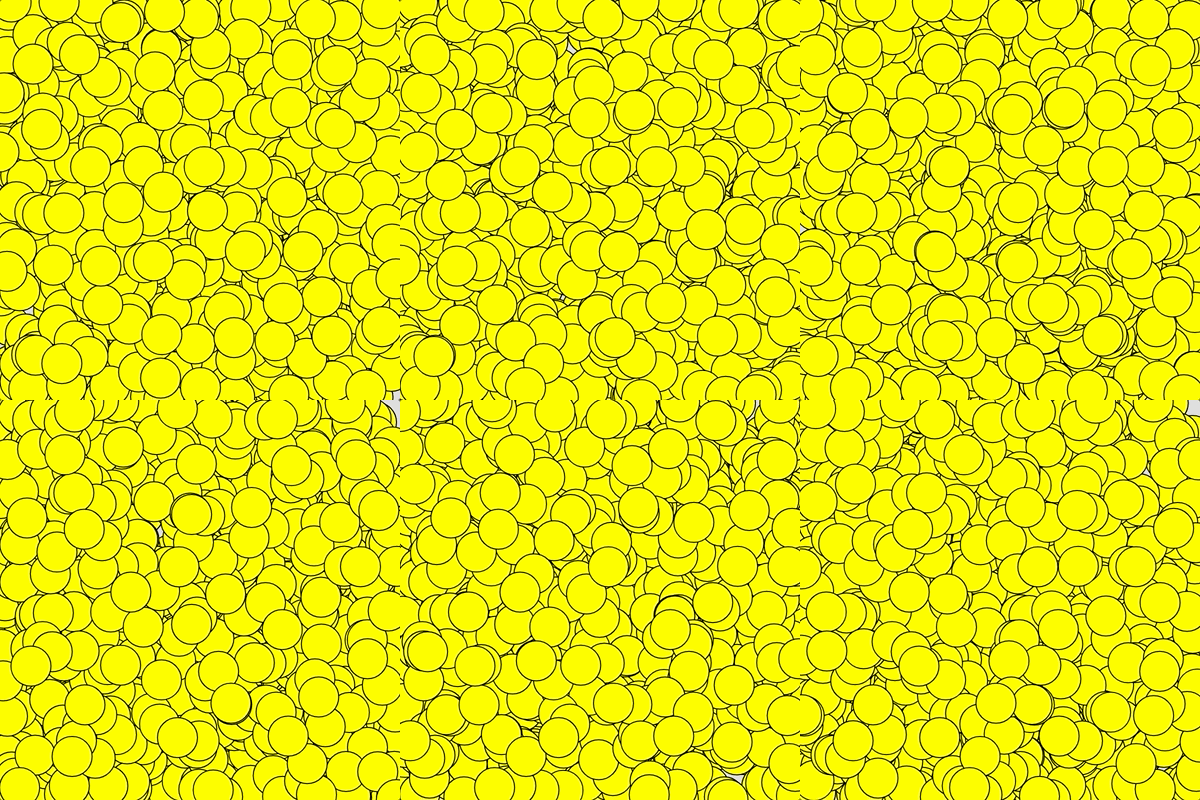 But wait there’s more! Are you sitting down? If we wanted 100, 1000, or even 10000 Ball objects we can accomplish this by changing just one number in the code. Can you spot it? Yes, on line 7 if we change the for loop condition to something like
count < 1000 this will instantiate 1000 Ball objects. Try it and be amazed!
Interactive Objects
In lesson 1-10 we talked about mouse roll-overs. Let’s enhance the Ball class so that the colour of a Ball object changes to black if the mouse pointer is over it. The first thing we need to do is add another property to our Ball class to keep track of whether the mouse is over the current Ball object or not:
|
1 2 3 4 5 6 7 |
class Ball { constructor(x, y, speed) { this.ballX = x this.ballY = y this.speed = speed this.mouseOver = false } |
On line 6 (above) I’ve added a new mouseOver instance variable and give it a default Boolean value of false, assuming the mouse is not over it to start.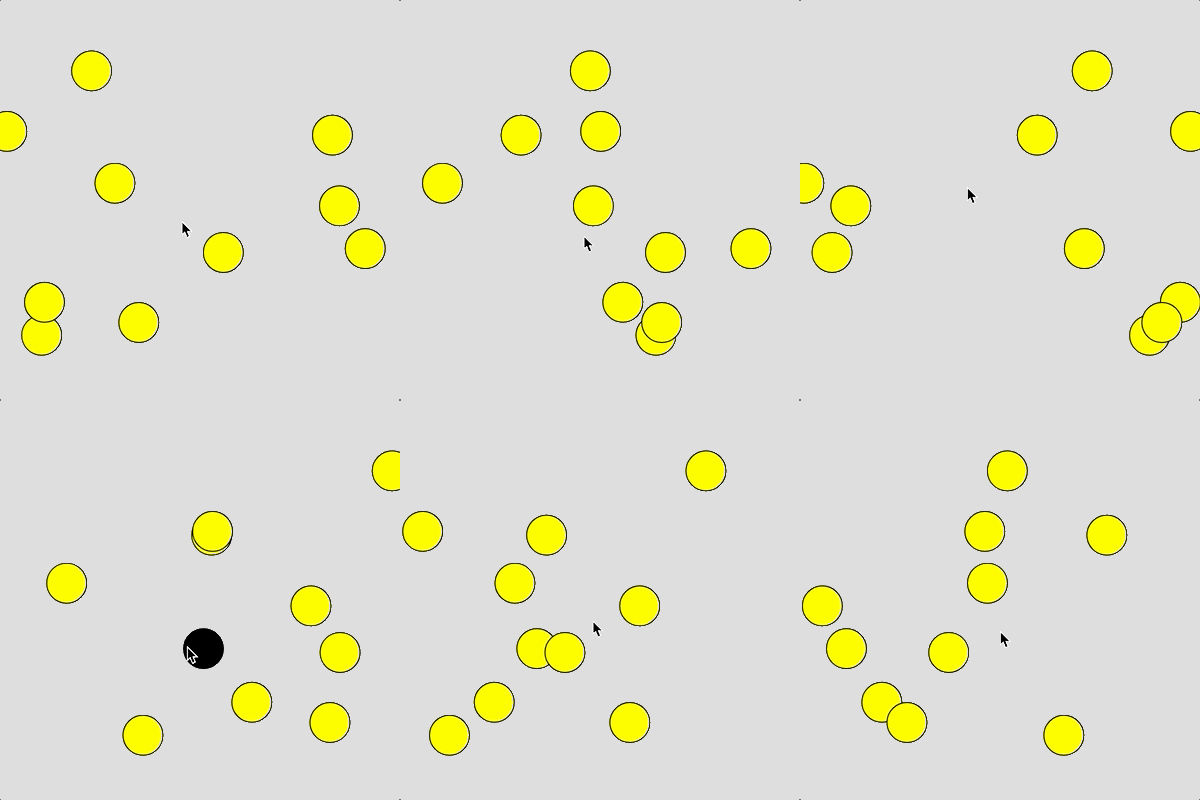
Next, we need to add a function to the Ball class to check if the mouse pointer is within the bounds of our circle and update the mouseOver variable accordingly. I name this new function checkMouseOver() and it uses the built-in dist() function to calculate if the mouse pointer is within 20 pixels of the centre of the Ball (the total diameter is 40 pixels).
|
1 2 3 4 5 6 7 8 |
checkMouseOver() { if (dist(this.ballX, this.ballY, mouseX, mouseY) <= 20 ) { this.mouseOver = true } else { this.mouseOver = false } } |
And lastly, we need to update the display() function such that if the mouseOver instance variable is true, we fill the ellipse in black, and yellow otherwise:
|
1 2 3 4 5 6 7 8 9 10 |
display() { // Draw the ball if (this.mouseOver == true) { fill(0) } else { fill(255, 255, 0) } ellipse(this.ballX, this.ballY, 40, 40) } |
There’s really nothing new in this example, it simply puts together many of the topics we’ve covered so far. Here is the complete code for this final example:
|
1 2 3 4 5 6 7 8 9 10 11 12 13 14 15 16 17 18 19 20 21 22 23 24 25 26 27 28 29 30 31 32 33 34 35 36 37 38 39 40 41 42 43 44 45 46 47 48 49 50 51 52 53 54 55 56 57 58 59 60 61 62 63 64 |
// Declare an empty array let ballArray = [] function setup() { createCanvas(400, 400) // Instantiate 10 Ball objects for (let count = 0; count < 10; count++) { // append each new Ball to the ballArray append(ballArray, new Ball(random(width), random(height), random(-5,5))) } } function draw() { background(220) // Control each Ball object in the ballArray for (let index = 0; index < ballArray.length; index++) { ballArray[index].checkMouseOver() ballArray[index].display() ballArray[index].bounce() ballArray[index].move() } } class Ball { constructor(x, y, speed) { this.ballX = x this.ballY = y this.speed = speed this.mouseOver = false } checkMouseOver() { if (dist(this.ballX, this.ballY, mouseX, mouseY) <= 20 ) { this.mouseOver = true } else { this.mouseOver = false } } display() { // Draw the ball if (this.mouseOver == true) { fill(0) } else { fill(255, 255, 0) } ellipse(this.ballX, this.ballY, 40, 40) } bounce() { // Reverse direction if we've hit a canvas edge if (this.ballX > width || this.ballX < 0) { this.speed = this.speed * -1 } } move() { // Change the x location of the ball this.ballX = this.ballX + this.speed } } |
Our programs are getting longer and doing more impressive things, but using classes and arrays together help to keep our code manageable and easy to follow.
You Try!
-
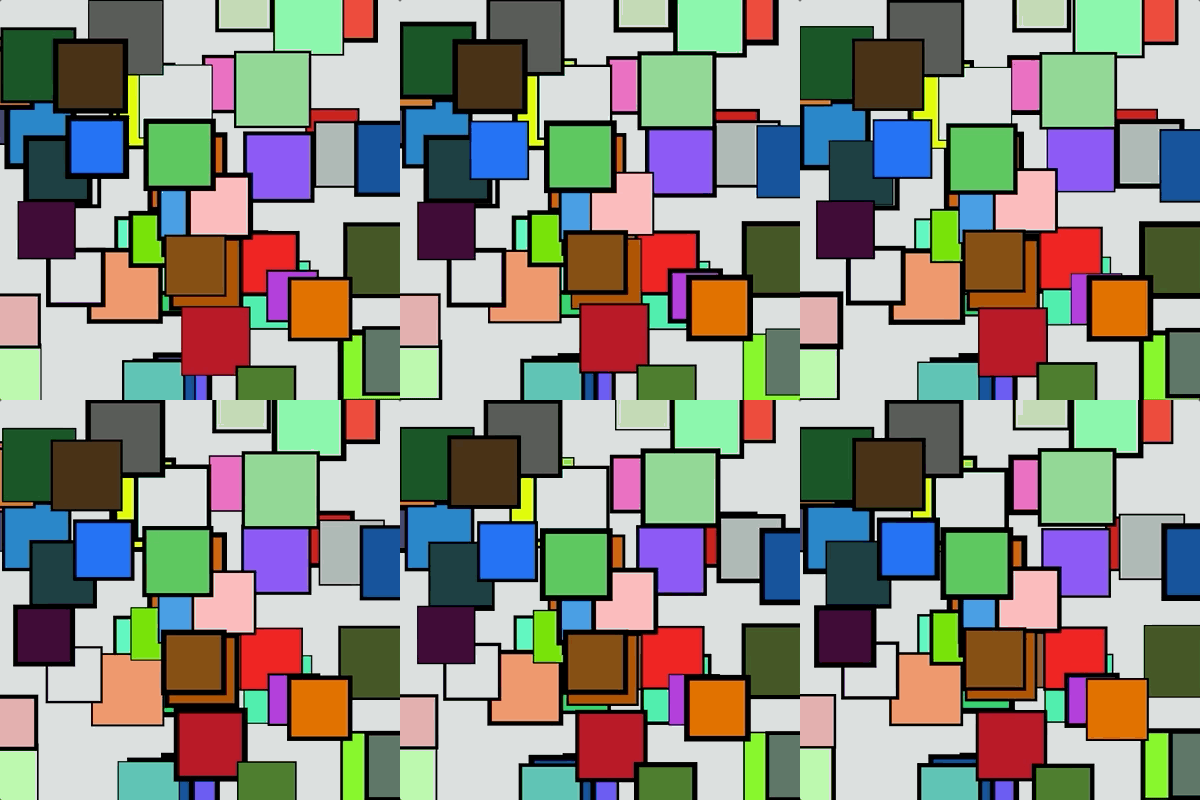 Create a class called JitterBox. The constructor() of the class should have no parameters and randomly set the (x,y) centre coordinate of a square within the width and height of the canvas, its side-length to a random length between 50 and 75 pixels, and random R, G, and B colour values. Add a move() function that randomly changes the (x,y) centre of the square by -1, 0, or 1 pixel. Finally, add a display() function to draw the square at its current (x,y) location. Within display(), set a random stroke weight between 1 and 5. Write a setup() and draw() function to demonstrate working with 50 JitterBox objects.
- Given the following GravityBall class:
12345678910111213141516171819202122232425262728293031class GravityBall {constructor(x, y, diameter) {this.x = xthis.y = ythis.width = diameterthis.r = random(0, 256)this.g = random(0, 256)this.b = random(0, 256)this.speed = 0}display() {// Display the ballfill(this.r, this.g, this.b, 150)ellipse(this.x, this.y, this.width, this.width)}update() {// Move GravityBall down based on speedthis.y = this.y + this.speed// Increase speed slightly (gravity)this.speed = this.speed + 0.1// When ball reaches the bottom, reverse speedif (this.y > height) {this.y = heightthis.speed = this.speed * -0.90}}}
Write a program to demonstrate how to instantiate and animate 1 GravityBall object to see how it behaves.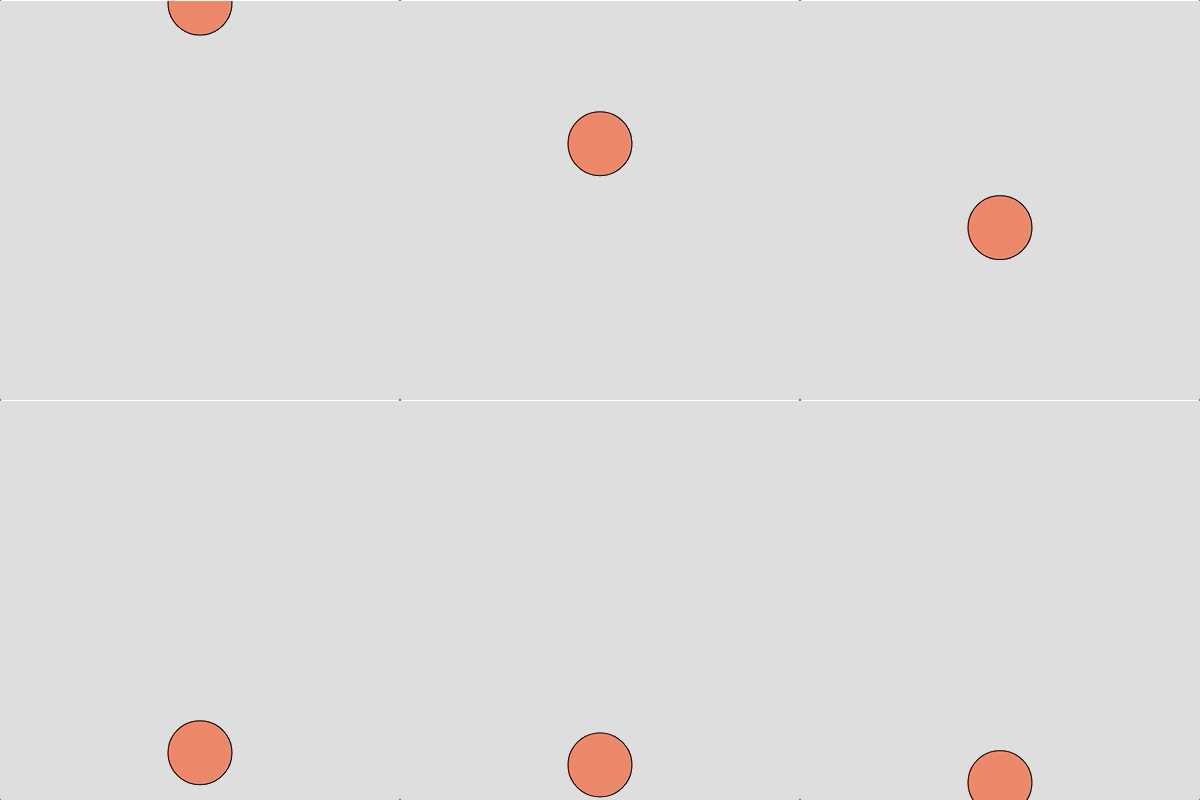
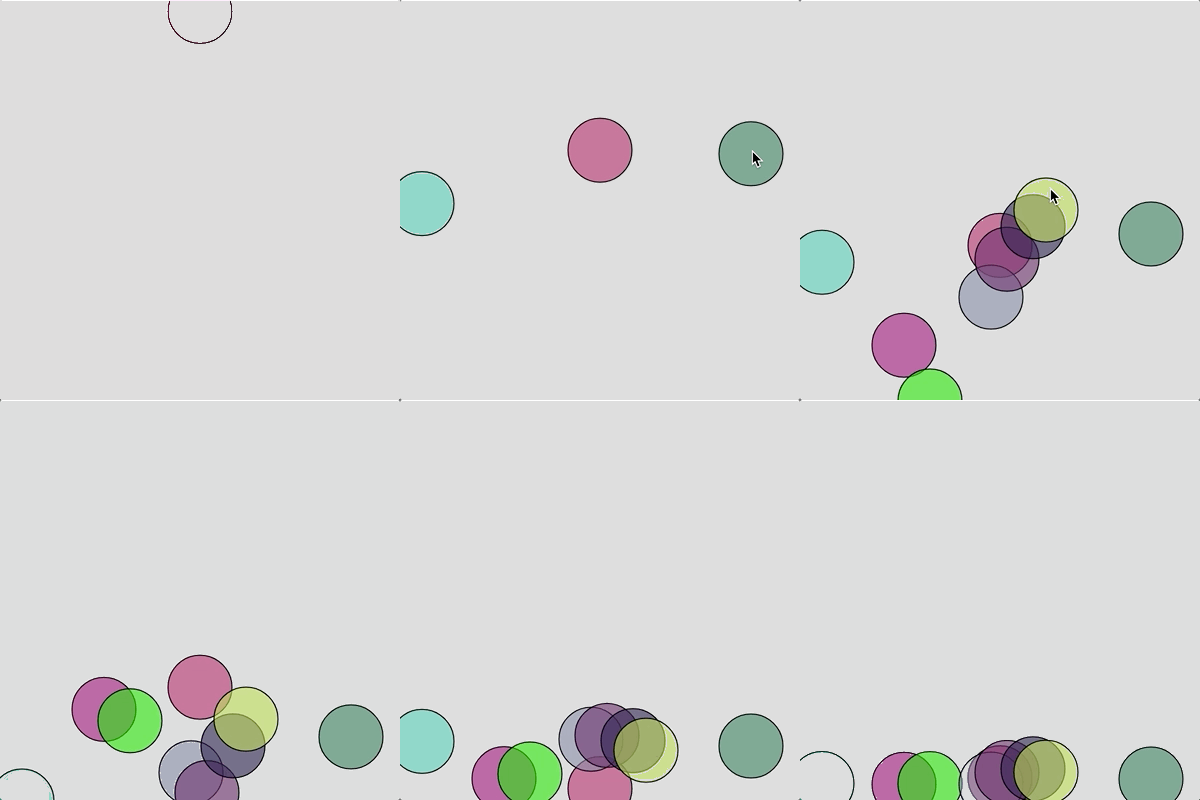
- Enhance your solution to Q2, such that wherever the mouse is clicked an additional GravityBall object is instantiated and starts to fall from the (x,y) location where the mouse was clicked. Hints: you will need an array and mousePressed() function here.
- Create a class called Button. Include a constructor() to draw a rectangular button on the screen at a given x, y, width, and height. The default button colour should be black (off). If the mouse is clicked on a button toggle the colour to white (on), or if it’s already on toggle it back to black (off).
