Tic-Tac-Toe Board
You’ve probably played Tic-Tac-Toe using a piece of paper and a pencil before. Let’s wrap up by creating an interactive (mouse-controlled) Tic-Tac-Toe grid. Clicking each cell with the mouse will alternate it between being empty, and O, or an X.
Where to start!? This may feel overwhelming at first, but don’t forget the “Divide and Conquer” approach to problem-solving. We’ll start small with just 1 interactive cell. Once we have that working we’ll make a row of three, and finally a 3×3 grid of cells. When we start small like this the problem is much more manageable.
One Cell
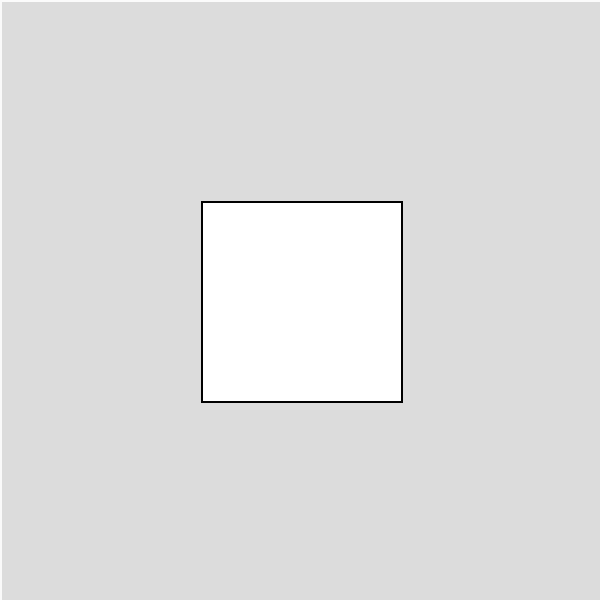
To get started, let’s create a super simple program that draws just one empty cell on the canvas. We know that eventually, we’ll need 9 cells, so it makes sense to define a class for the Cell.
|
1 2 3 4 5 6 7 8 9 10 11 12 13 14 15 16 17 18 19 20 21 22 23 24 25 26 27 28 29 |
let cell function setup() { createCanvas(300, 300) // Instantitate 1 cell cell = new Cell(width/3, height/3) } function draw() { background(220) // Display our cell cell.display() } class Cell { constructor(x, y) { // Keep track of the top-left corner of the cell this.x = x this.y = y // Calculate width and height using Canvas size / 3 this.width = width/3 this.height = height/3 } display() { // Draw the empty cell rect(this.x, this.y, this.width, this.height) } } |
 Starting on line 15, we define a class called Cell. The top-left corner of each Cell will have a different location on the canvas, so the x and y coordinates are passed in as arguments to the constructor(). The display() function merely draws an empty rect at this point.
On line 1 we define a global variable for our cell since it needs to be accessed in both the setup() and draw() functions. In setup() we instantiate one Cell in the centre of the canvas, then in draw() we simply call the display() function for our cell.
There’s nothing fancy here, if anything above is unclear please go back and look at the previous lessons!
Adding Interactivity
So that’s a good start, but let’s add a little more. This time, we’ll focus on making a single Cell interactive. Here’s the updated Cell class:
|
1 2 3 4 5 6 7 8 9 10 11 12 13 14 15 16 17 18 19 20 21 22 23 24 25 26 27 28 29 30 31 32 33 34 35 36 37 38 39 40 |
class Cell { constructor(x, y) { // Keep track of the top-left corner of this cell this.x = x this.y = y // Calculate width and height using Canvas size / 3 this.width = width/3 this.height = height/3 // state = 0 means Empty, 1 means "O", and 2 means "X" this.state = 0 } display() { // Draw the empty cell rect(this.x, this.y, this.width, this.height) if (this.state == 0) { // Nothing to draw in cell } else if (this.state == 1) { // Draw an O ellipse(this.x+this.width/2, this.y+this.height/2, this.width, this.height) } else if (this.state == 2) { // Draw an X line(this.x, this.y, this.x+this.width, this.y+this.height) line(this.x+this.width, this.y, this.x, this.y+this.height) } } checkIfClicked() { if (mouseX > this.x && mouseX < this.x + this.width && mouseY > this.y && mouseY < this.y + this.height) { // Switch to the next state this.state = this.state + 1 // After "X" (state 2) go back to "Empty" (state 0) if (this.state > 2) { this.state = 0 } } } } |
 The key to making a Cell interactive is keeping track of what it should display; i.e., whether the cell is empty, “O” or “X”. To help with this I’ve added a state instance variable to the constructor(). We initialize state to 0 when the Cell is instantiated, meaning it will be empty to start. The draw() function uses the state variable to draw the Cell as empty (if state = 0), containing an “O” (if state = 1), or containing an “X” (if state = 2).
Lastly, I’ve added a checkIfClicked() function. Below I’ll add a mousePressed() function that will call on this function to determine if the mouse is within the boundaries of the Cell. If the mouse is clicked, and the checkIfClicked() function calculates if the mouse pointer is on the cell, the checkIfClicked() function will increase the value of the state variable by 1. For example, if state = 1 (showing an “O”) and we click on it, state will become 2 (showing an “X”). The trick here is that there are only 3 states: 0 (Empty), 1 (“O”), and 2 (“X”). There is no state 3, so once we reach 3, there is an if statement on line 35 to reset the state to 0 again.
Another way of accomplishing the state switching in checkIfClicked() is by replacing lines 32 to 36 with just one calculation (remember modulus % operator?):
this.state = (this.state + 1) % 3
This calculation will ensure that state is always 0, 1, or 2. If state ever becomes 3 the % operator will give 0 as the remainder and the series will start over again.
Finally, we add a mousePressed() function to our main code (outside the Cell class) to call the checkIfClicked() function for our cell:
|
1 2 3 4 |
function mousePressed() { // Check if mouse was on our cell when clicked cell.checkIfClicked() } |
One Row
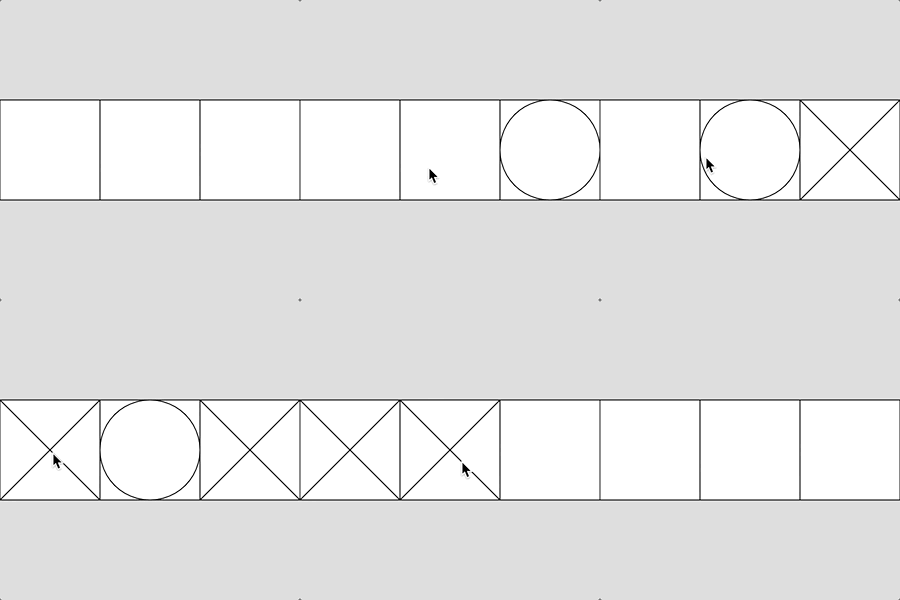
We’ve made great progress! Now that we have 1 cell working, let’s use a for loop to create 3 cells in a row. To do this we will not need to change our Cell class code at all, we’ll only update our main code:
|
1 2 3 4 5 6 7 8 9 10 11 12 13 14 15 16 17 18 19 20 21 22 23 24 25 |
let cells = [] function setup() { createCanvas(300, 300) // Create 3 cells in a row for (let col = 0; col < 3; col++) { cells = append(cells, new Cell(col*100, height/3)) } } function draw() { background(220) // Display our cells for (let index = 0; index < 3; index++) { cells[index].display() } } function mousePressed() { // Check if mouse was on any cell when clicked for (let index = 0; index < 3; index++) { cells[index].checkIfClicked() } } |
 The secret here is using an array of Cell objects and for loops to process them efficiently. On line 1 we create an empty array for our cells. Inside setup() we use a for loop to instantiate 3 cells, side by side, and append() them to our cells array. Similarly, the draw() and mousePressed() functions use for loops to display all 3 cells and check each for mouse clicks, respectively. Can you see how breaking the problem down into smaller steps make things easier?
The Full Board
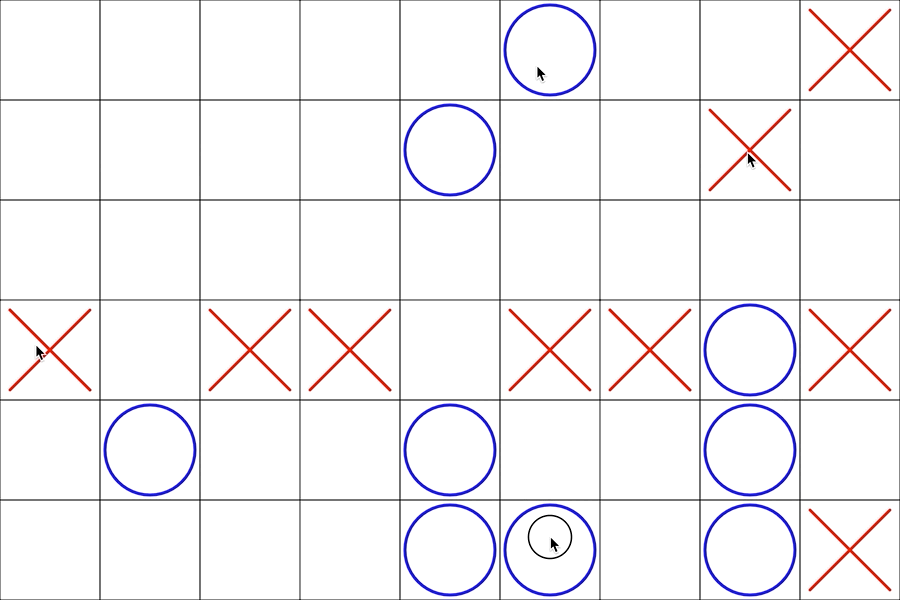
Now we can extend this to 9 cells, 3 rows of 3 columns. Let’s look at the setup() function first:
|
1 2 3 4 5 6 7 8 9 10 11 12 |
let cells = [] function setup() { createCanvas(300, 300) // Create 3x3 grid (3 rows x 3 columns) for (let row = 0; row < 3; row++) { for (let col = 0; col < 3; col++) { cells = append(cells, new Cell(row*100, col*100)) } } } |
 Since our board has exactly 3 rows and exactly 3 columns, it makes sense to use 2 separate for loops. However! Notice that I’ve put one for loop indented inside the other. This is called a nested loop. The outer loop (counting rows) will repeat 3 times. Each time that the outer loop iterates, the inner loop (counting columns) will repeat 3 times. This will create a total of 3 rows x 3 columns = 9 cells.
Once we have an array of 9 Cell objects, we simply need to adjust the for loop conditions in the draw() and mousePresssed() functions to handle 9 cells instead of 3:
|
1 2 3 4 5 6 7 8 9 10 11 12 13 14 |
function draw() { background(220) // Display our cells for (let index = 0; index < 9; index++) { cells[index].display() } } function mousePressed() { // Check if mouse was on any cell when clicked for (let index = 0; index < 9; index++) { cells[index].checkIfClicked() } } |
I’ve also added a few cosmetic improvements to the graphics in the Cell class:
|
1 2 3 4 5 6 7 8 9 10 11 12 13 14 15 16 17 18 19 20 21 22 23 24 25 26 27 28 29 30 31 32 33 34 35 36 37 38 39 40 |
class Cell { constructor(x, y) { // Keep track of the top-left corner of this cell this.x = x this.y = y // Calculate width and height using Canvas size / 3 this.width = width/3 this.height = height/3 // state = 0 means Empty, 1 means "O", and 2 means "X" this.state = 0 } display() { // Draw and empty cell stroke(0) strokeWeight(1) rect(this.x, this.y, this.width, this.height) strokeWeight(3) if (this.state == 0) { // Nothing to draw in cell } else if (this.state == 1) { // Draw blue O stroke(0,0,255) ellipse(this.x+this.width/2, this.y+this.height/2, this.width-10, this.height-10) } else if (this.state == 2) { // Draw red X stroke(255,0,0) line(this.x+10, this.y+10, this.x+this.width-10, this.y+this.height-10) line(this.x+this.width-10, this.y+10, this.x+10, this.y+this.height-10) } } checkIfClicked() { if (mouseX > this.x && mouseX < this.x + this.width && mouseY > this.y && mouseY < this.y + this.height) { this.state = (this.state + 1) % 3 } } } |
I hope you can see the benefit of arrays, OOP, and the “Divide and Conquer” approach to developing programs. Putting all of this together is not easy, but the more you practice the better you will become at it!
You Try!
- Connect-Four is another grid-based game with 6 rows and 7 columns. Modify the Tic-Tac-Toe code above to represent a Connect-Four board instead.
- Modify the Tic-Tac-Toe example such that the X or O state alternates on each mouse press.
- Enhance Q2 so that the user can play Tic-Tac-Toe against the computer!