What is a Variable?
We often refer to a computer’s RAM as its “memory” because it stores data that it needs to operate on. Simply put, a variable is a name that we use to refer to some data value stored in the computer’s memory. Using a variable’s name in our code we can access (read) and change the value as needed. This is why it’s called a variable, the data it refers to can vary as the program runs.
Why bother? Why not use hard-coded numbers in all of our programs? Well, think about how useful the mouseX and mouseY system variables are. Because the values that they refer to in memory change as the mouse moves, we can easily move/animate objects on the screen. We’ll use variables in p5.js to do other things like changing the size, colour, and position of shapes to make some pretty cool animated effects.
Types of Data
Variables have two key elements – they have a name (that you make up) and a value (that you assign and can change) in memory that they refer to. In p5.js there are 4 kinds of data that can be stored using variables.
| Data Type | Examples | Description |
|
Integer |
0
99 -10 |
Integers are whole numbers. Since pixel coordinates and RGB colour values are always integers, this type of data will be the most common in our programs. |
|
Floating Point |
0.0
3.14 -99.99999 |
Floating-point values are decimal (or real) numbers. Not as commonly used as integers, but still handy for things like representing radians or degrees. |
|
Characters |
“a”
‘Hello’ “abc123″ ‘Total is $123.45” |
Characters are letters, digits, and symbols enclosed in single or double quotation marks. As we’ll see shortly, characters are useful when determining which key a user pressed on the keyboard. When two or more characters are in quotation marks, it’s called a string (of characters). We’ve already see strings in action when we talked about the print() function. |
|
Boolean Values |
true
false |
Boolean values are special keywords in p5.js to represent the values true and false. Note that these are not enclosed in quotation marks, they are not strings. |
Creating Variables
To create a variable in p5.js, we use the let keyword, followed by the name of the variable we’d like to create, followed an =, followed by an initial value, like so:
let count = 0
This tells p5.js to create a new variable called count and store the integer value 0 there.
For now, we’ll create all of our variables at the top of our programs, before the setup() function.
A Simple Example
Recall this example from a couple of lessons ago:
|
1 2 3 4 5 6 7 8 9 10 |
function setup() { createCanvas(400, 400) } function draw() { background(220) // Draw a circle wherever the mouse pointer is ellipse(mouseX, mouseY, 40, 40) } |
Here we used mouseX and mouseY to change the position of a circle depending on the current position of the mouse pointer. As I mentioned before, these are special system variables so they are already created and automatically updated for us – we just read their values as needed.
Let’s replace these with our own variables to control how the ellipse is animated:
|
1 2 3 4 5 6 7 8 9 10 11 12 13 14 15 16 17 18 |
// Create our variables let circleX = 0 let circleY = 200 let speed = 2 function setup() { createCanvas(400, 400) } function draw() { background(220) // Draw a circle using our coordinate variables ellipse(circleX, circleY, 40, 40) // Increase the value of circleX using speed variable circleX = circleX + speed } |
 Try this code and see what happens. You’ll see that the circle moves from the left side of the canvas to the right side, and then off the canvas. Wow! Try changing the value of the speed variable to make it go faster.
Lines 2 and 3 create and give initial values to our circleX and circleY variables. As before, the ellipse() function call on line 14 uses variables to control the position of the circle, but this time we are using our own variables.
Line 17 is interesting, here we are using the assignment operator (=) again, but this time to update the value stored by the circleX variable. You might think this looks confusing, but what happens is p5.js evaluates the expression on the right side of the = first i.e., it takes the current value stored in circleX and adds 2 to it. The result of this calculation is then stored (assigned) back to the circleX variable, replacing its previous value.
Notice that we do not need to use the let keyword again on line 17. The variable was already created on line 2 (using let), so trying to create it a second time would give an error. We are simply updating its value.
Arithmetic Operators
You don’t need to be a math genius to be a great programmer. For most coding tasks all we need are some basic arithmetic operations. We have seen how the = (assignment) and + (addition) symbols work, these are called arithmetic operators. Here’s a summary of some useful arithmetic operators in p5.js:
| Arithmetic Operator | Meaning |
| () | You can use ( parentheses ) to control the order of operations. |
| *, / | Multiplication, Division (evaluated left to right) |
| +, – | Addition, Subtraction (evaluated left to right) |
| = | Assignment (always done last) |
Remember PEMDAS (or BEDMAS)? The order of operations in p5.js is the same as you are used to in math class. Operations at the top of this chart are done first, and toward the end are done last unless ( parentheses ) are used to control the order. It makes sense that the assignment = operator would be the last operation since you would want to evaluate the entire calculation on its right before assigning the result to the variable on the left.
In the cases of division and multiplication, or addition and subtraction, the operations are done in the order that they appear from left to right. The order that arithmetic operators are performed is called their precedence. Here’s a short example:
|
1 2 3 4 5 6 7 8 9 10 11 12 13 |
// Define 2 variables let x = 5 let y = -2 let result = 0 function setup() { print(x + 3 - y) // (5) + 3 - (-2) = 10 print(x - y + 1) // (5) - (-2) + 1 = 8 print(x + 2 * y) // (5) + (2 * (-2)) = 1 result = (x + 1) / 2 + (-1 * y) // ((6) / 2) + (2) = 5 print(result) } |
All of the output here is going to the console area so we don’t need a drawing canvas or draw() function. Try a few calculations yourself to get the hang of it. Be careful with multiplication, you must use the asterisk (*) symbol, not x or X. Also, multiplication is not implied with parentheses, so this would be a syntax error:
result = x + 2(y+1)
Unlike your math teacher, p5.js will not assume you want multiplication between 2 and the (.
Lots of Variables!
 I hope you are starting to appreciate how useful variables and arithmetic operators can be! Here’s one more example, this time using variables to control (and change) all aspects of the animation:
|
1 2 3 4 5 6 7 8 9 10 11 12 13 14 15 16 17 18 19 20 21 22 23 24 25 26 27 28 29 30 31 |
// Variables are used for everything: background, stroke, fill, location, and size. let circleX = 0 let circleY = 0 let circleW = 50 let circleH = 100 let circleStroke = 255 let circleFill = 0 let backgroundColour = 255 let change = 2 function setup() { createCanvas(400, 400) } function draw() { background(backgroundColour) // Draw ellipse using *6* different variables stroke(circleStroke) fill(circleFill, circleFill/2, circleFill/3) ellipse(circleX, circleY, circleW, circleH) // Use 'change' variable to increase/decrease others circleX = circleX + change circleY = circleY + change circleW = circleW + change circleH = circleH - change circleStroke = circleStroke - change circleFill = circleFill + change backgroundColour = backgroundColour - change / 2 } |
Try this in the p5.js online editor and be amazed!
Proper Variable Naming
There are a few good habits I want you to develop concerning variable naming:
-
- Always make your variable names meaningful and descriptive – the extra typing is always worthwhile. In the last example, you’ll notice that I took the time to give my variables meaningful names; for example, I did not call my backgroundColour variable something terse like bc. The computer doesn’t care what you call your variables, but don’t forget that code is always read by other human beings – perhaps your teacher when marking.. hint.. hint…
- Always start your variable names with a lowercase letter and join words using capital letters; for example, circleWidth is good, but CircleWidth, circlewidth, CIRCLEWIDTH are all bad. This is a custom that all p5.js programmers follow to make p5.js code consistent and easier to read.
-
- Never name your variables using existing p5.js keywords or function names. For example, trying to create the variables print, mouseX, or true will only lead to confusion and in some cases errors in your code.
These habits apply to many other languages as well such as Python and Java. It’s very important to start following these rules now so that they become second nature.
Watch Out!
Before we end off, I wanted to mention a couple of common errors students make when working with variables. The first is not giving a variable an initial value. It’s possible to create a variable but not assign it a starting value. For example, change line 3 in the previous example like this:
|
1 2 3 |
// Variables are used for everything: background, stroke, fill, location, and size. let circleX = 0 let circleY // Oopps! No initial value |
If you do this the variable’s value is considered undefined, and if you use a variable like this your program will give an error when you run it. Try it to see what happens!
Second, remember that you only need to use the let keyword when initially creating the variable (at the top of your program). If you try to recreate the same variable using a second let statement you will get an error. For example, if on line 24 in the previous example I had written:
let circleX = circleX + change
p5.js would give an error when the program is run because I’d be trying to create another variable with the same name as the one I created on line 2. These are all examples of syntax errors.
You Try!
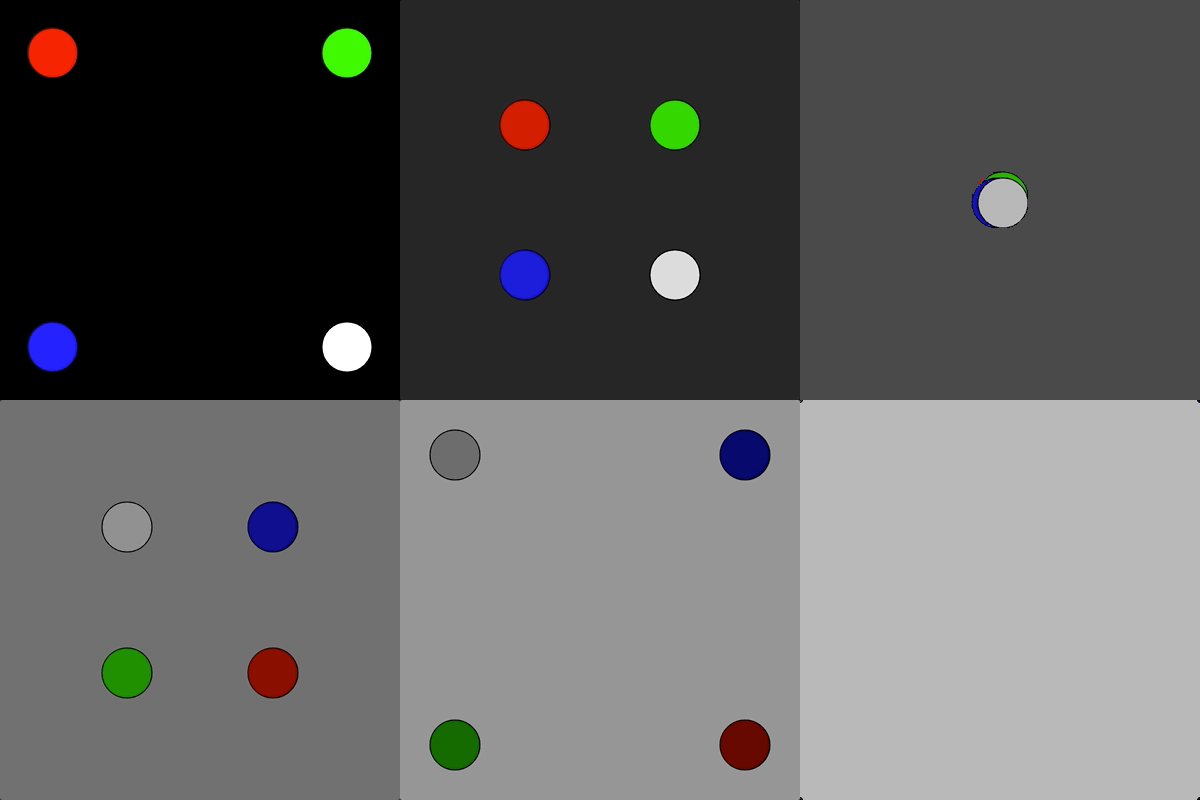
- Modify the first example today such that the circle stays in the center of the canvas, but its size grows larger and larger until it floods the canvas.

- Given the following code:
|
1 2 3 4 5 6 7 8 9 10 11 12 |
function setup() { createCanvas(400,400) } function draw() { background(220) ellipse(50, 50, 50, 50) ellipse(350, 50, 50, 50) ellipse(50, 350, 50, 50) ellipse(350, 350, 50, 50) } |
Change it so that the four circles move diagonally toward the center, crisscrossing in the middle, then exiting from the opposite corners of the canvas. Jazz it up with some colour!
- Modify your solution to Q1 such that the diameter of the circle grows and shrinks depending on the distance of the mouse pointer to the center of the circle. Hints: You’ll need the dist() function and the multiplication * operator for this one.

- Write a program that draws a simple image using at least 5 shapes; for example, a robot, car, or bird. Make it look nice – include line and fill colours! The image should move across (and off) the screen in some direction (you choose).