Calculating Mouse Speed
Using the current mouseX and mouseY position, and comparing this to the previous pmouseX and pmouseY position we can calculate how far the mouse has moved since the last time draw() was called. To do this, p5.js has a function called dist() that takes two (x,y) coordinates and calculates the distance between them in pixels:
let mouseSpeed = dist(mouseX, mouseY, pmouseX, pmouseY)
The let keyword here is telling p5.js that we’d like to create a new variable called mouseSpeed. Like in math class, a variable is simply a name that we use to represent a value – we’ll get into the details of this next time. The = is called an assignment operator, and it causes the result calculated by the dist() function to be stored in the mouseSpeed variable for future access.
Ok, so what!? Well, let’s apply this to our simple paint program such that the line thickness changes depending on how quickly we move the mouse:
|
1 2 3 4 5 6 7 8 9 10 11 12 13 14 15 16 17 |
function setup() { createCanvas(400, 400) // Fill the background only once background(220) } function draw() { // Calculate how many pixels the mouse has moved let mouseSpeed = dist(mouseX, mouseY, pmouseX, pmouseY) // Use the speed to set the stroke thickness strokeWeight(mouseSpeed) // Draw a line between current and previous mouse position line(pmouseX, pmouseY, mouseX, mouseY) } |
On line 14 I am using the strokeWeight() function to set the line thickness based on how much the mouse has moved since the last time draw() was called.
 As mentioned, mouseX, mouseY, pmouseX, and pmouseY are special system variables in p5.js – they work like any other variable but they are created and maintained automatically by p5.js. You do not need to create them using the let keyword or assign values to them, all of this happens automatically for you.
We’ll come back to variables and doing calculations in upcoming lessons, this is just a taste of what’s possible.
Event Handling
So far, we understand how/when the setup() and draw() functions are automatically called and how to use mouseX, mouseY, pmouseX, and pmouseY effectively. But, in addition to this, we might want to have our animation react in some way to a mouse button click or a keypress on the keyboard. User actions like these are called events in programming, and writing functions to react when these events happen is called event handling.
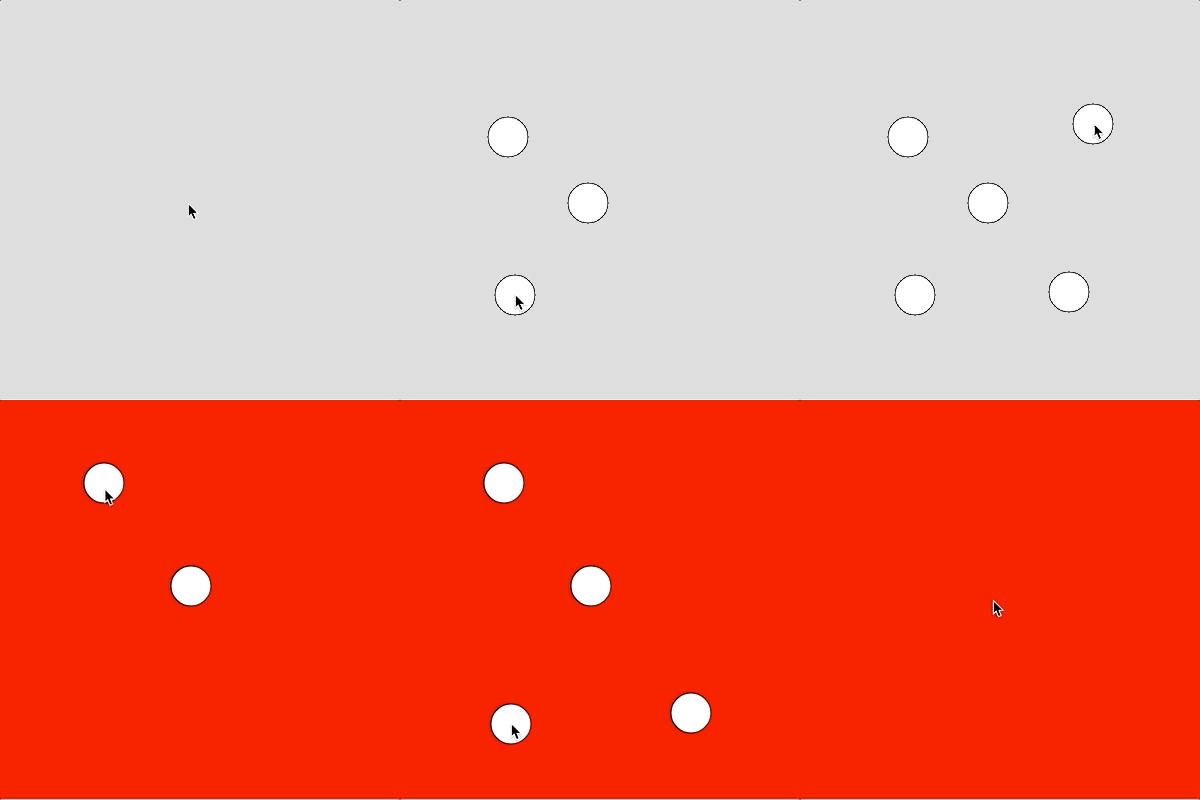
Like the setup() and draw() functions, there are 2 more special functions we can include in our p5.js programs to handle mouse and keyboard events: mousePressed() and keyPressed(). These functions are called automatically, once for each occurrence of an event caused by the user. Here’s an example that will draw a circle whenever (and wherever) the mouse is clicked, and change the background to red when any key is pressed:
|
1 2 3 4 5 6 7 8 9 10 11 12 13 14 15 16 17 18 19 20 21 22 |
function setup() { createCanvas(400, 400) background(220) } function draw() { // Empty on purpose! } function mousePressed() { // Draw a circle at the current mouse pointer ellipse(mouseX, mouseY, 40, 40) // Display a message in the Console area (lower-left) print("Mouse Clicked at", mouseX, mouseY) } function keyPressed() { // Fill the canvas in red. background(255,0,0) print('BAM!') } |
When you run this example, you’ll see that setup() is run once, and draw() is run over and over again. Since the draw() function is empty and does nothing, you could simply not include it at all and the program will still work. All of the output occurs in the mousePressed() and keyPressed() functions.
The print() Function
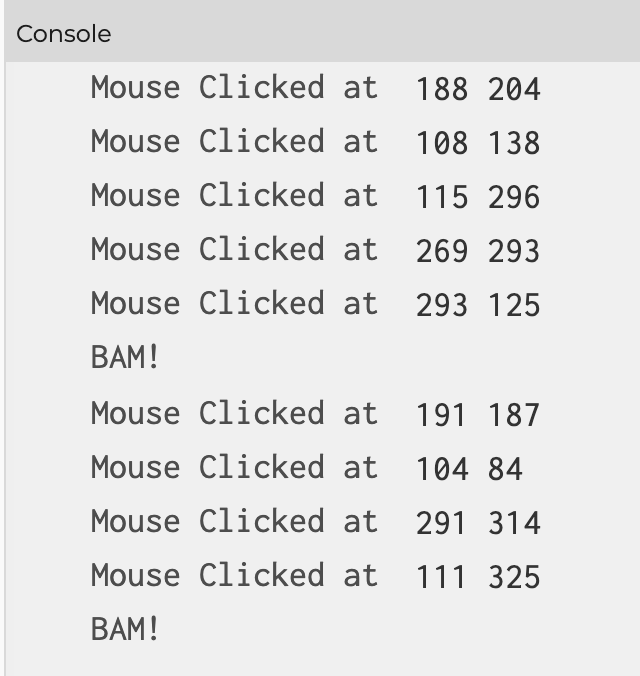
 In the last example, on lines 15 and 21, I called another new function named print(). This handy function allows us to display text messages in the Console area (at the lower-left corner of the p5.js editor). Text enclosed in “double” or ‘single’ quotation marks are called strings in programming. Pictured to the right is the Console output for the animated demo above.
In the case of mousePressed(), I’m using print() to report the coordinates of the mouse. This information might be helpful when working on a program or trying to fix a bug. Notice that the commas (,) separating the string “Mouse Clicked at” and the mouseX and mouseY variables. A comma adds a blank space between items when they are displayed in the Console.
p5.js allows us to use a plus (+) symbol instead to join strings and variables together without adding extra spaces. Using +, if you want a space you need to add them yourself as part of a string. Try replacing line 21 with this:
print("Mouse Clicked at (" + mouseX + "," + mouseY + ")") }
The more we work with variables in our programs, the more useful you will find this function to be.
saveCanvas()
Before we wrap up, I wanted to mention one more cool function (p5.js has so many!). The saveCanvas() function allows us to save the current state of the drawing canvas as a .png or .jpg file. This can be handy if you’d like a quick way to take a “screenshot” of your canvas area. Replace the keyPressed() function code with this:
|
1 2 3 4 |
function keyPressed() { // Save the canvas as a .png file saveCanvas("myArt", "png") } |
Try the program again. When you press any key, the file “myArt.png” will be created by p5.js and downloaded by your browser.
You Try!
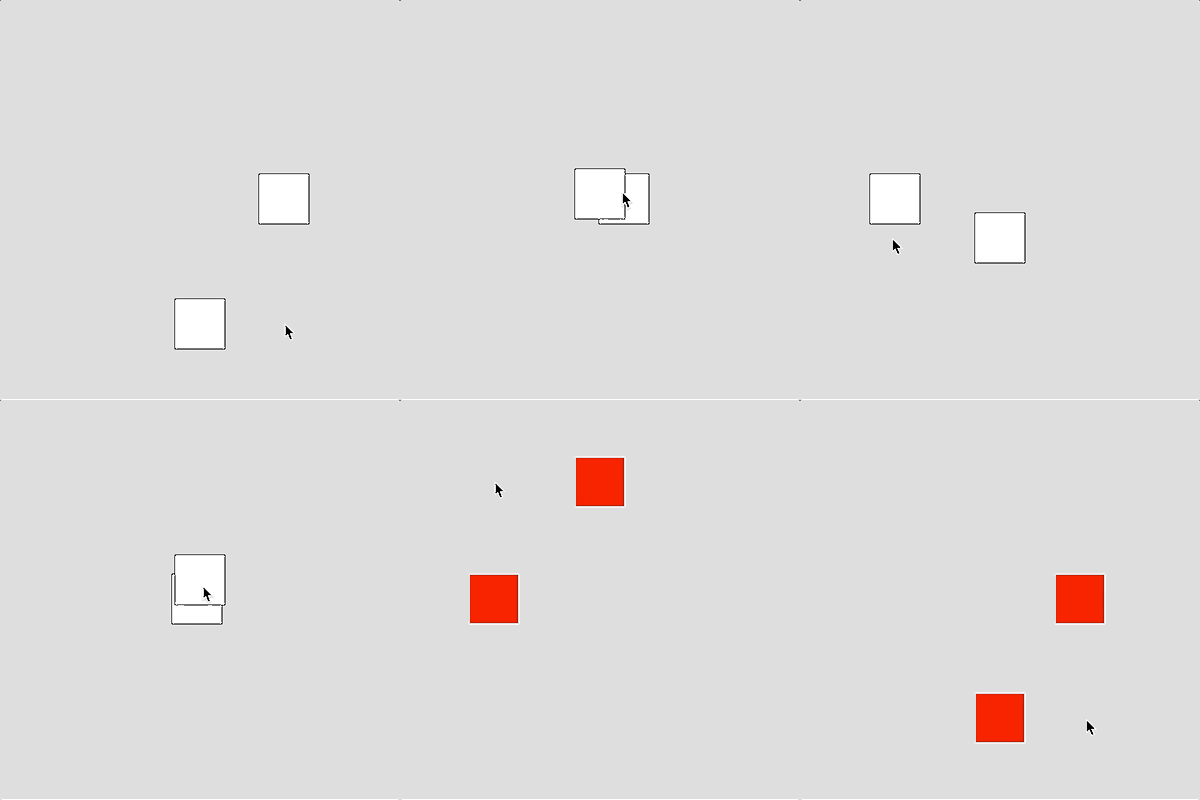
- Write a program that animates (without a trail) two squares. The first square moves horizontally across the horizontal center of the screen following the x-coordinate of the mouse. The second square moves vertically across the vertical center of the screen following the y-coordinate of the mouse. Give the squares the same fill and line colors. When the user clicks the mouse, change the fill and line colours to something else.

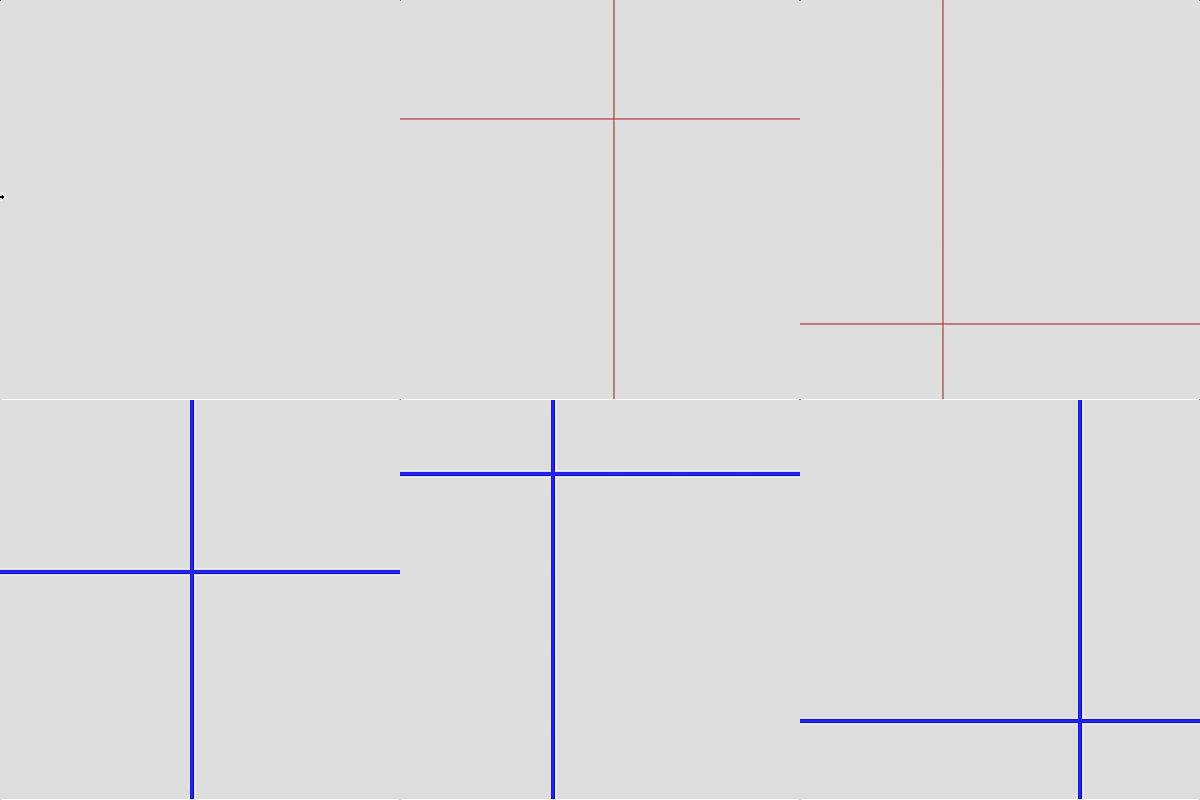
- Write a program that draws a vertical line and a horizontal line that intersects at the mouse pointer. The lines should go all the way across the screen and move (without leaving a trail) as the mouse moves. Hide the mouse pointer. When the user presses a key change the colour and thickness of the lines.

- Here’s a creative challenge. Draw an interactive scene that meets the following requirements:
- Use as many of the shape drawing functions we’ve learned as you can, including colour, transparency, and line thickness.
- Include an object in your scene that follows the (hidden) mouse pointer; for example, a bird or person.
- When the user clicks the mouse, change the background colour in your scene — Hint: you should use the background() function only in your draw() function, and not within the mousePressed() function. Use variables to represent the RGB colour values for your background. In the console, print() the location of the mouse when it was clicked, or display some other message.
- When the user presses a key, save an image of your canvas.