setup() and draw()
So far, all of the programs that we have written appear to produce static (unchanging) images. Consider the following code:
|
1 2 3 4 5 6 7 8 9 10 |
function setup() { createCanvas(400, 400) } function draw() { background(220) // Draw a circle in the middle of the canvas ellipse(200, 200, 40, 40) } |
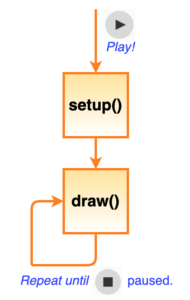 Not very exciting, but there is a lot more happening behind the scenes than meets the eye. Recall in our first p5.js lesson I mentioned that the setup() function is called automatically one time to configure the drawing canvas and that the draw() function is called automatically over and over again to update the canvas area (~60 times per second). This canvas “refresh” speed is called a frame rate, measured in frames per second (fps).
In the example above, after setup() defines the canvas size, the draw() function continuously draws a circle over and over again. The reason that the circle does not move is that the numeric arguments to the ellipse() function are always the same.
We can apply this understanding of how p5.js works to creating dynamic (animated!) images and also make them interactive so that the animation changes based on user input.
The Current Mouse Position
Let’s add some mouse interactivity by changing the draw() function slightly:
|
1 2 3 4 5 6 7 8 9 10 |
function setup() { createCanvas(400, 400) } function draw() { background(220) // Draw a circle wherever the mouse pointer is ellipse(mouseX, mouseY, 40, 40) } |
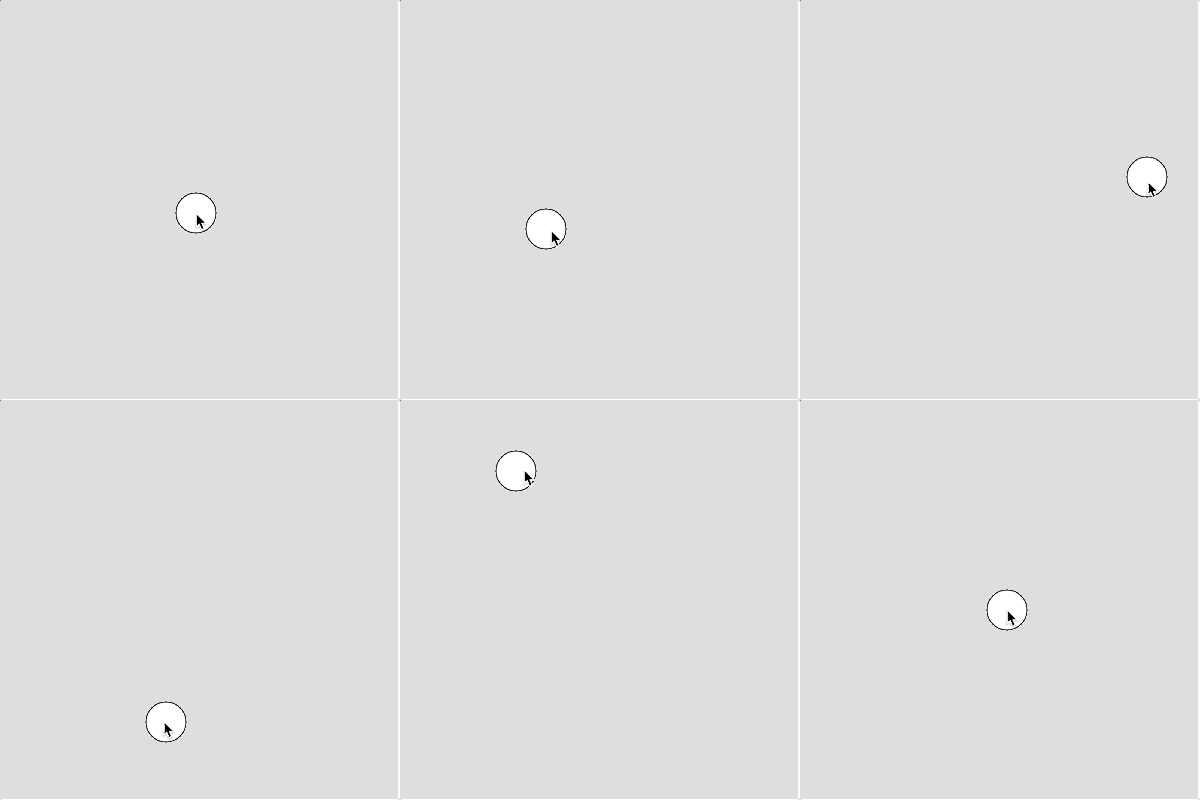 Wow! If you run this code you’ll see that the center of the circle now follows the mouse pointer — proof that the draw() function is automatically being called many times per second. mouseX and mouseY are special system variables (more on this later) that always contain the current horizontal (x) and vertical (y) position of the mouse. Every time the draw() function is called it redraws the circle using the current mouse position.
Just for fun, try swapping mouseX and mouseY in the example above like this:
ellipse(mouseY, mouseX, 40, 40)
What happens? Weird eh?
Next, keep the ellipse centered on the canvas, but change its width and height to mouseX and mouseY instead like so:
ellipse(200, 200, mouseX, mouseY)
Try adding a second ellipse that tracks the mouse, like so:
|
1 2 3 4 5 |
// Draw 1st circle wherever the mouse pointer is ellipse(mouseX, mouseY, 40, 40) // Draw 2nd circle 50 pixels to the right of the 1st ellipse(mouseX + 60, mouseY, 40, 40) |
Finally, try reflecting the second ellipse through the vertical center of the canvas, like so:
|
1 2 |
// Draw 2nd circle mirrored through the vertical center ellipse(400 - mouseX, mouseY, 40, 40) |
It’s pretty impressive that such small code changes can drastically change the output results!
Customizing the Mouse Pointer
By default, the mouse pointer appears as an arrow. Sometimes this can be distracting. You can hide the pointer completely by calling the noCursor() function like so:
|
1 2 3 4 5 6 7 8 9 10 11 12 13 |
function setup() { createCanvas(400, 400) // Hide the mouse pointer noCursor() } function draw() { background(220) // Draw a circle wherever the mouse pointer is ellipse(mouseX, mouseY, 40, 40) } |
I called the noCursor() function on line 5 in setup() because it only needs to happen once, but it could also have been placed in draw(), with no visual difference.
You can also customize the mouse pointer by calling the cursor() function:
|
1 2 3 4 5 6 7 8 9 10 11 12 13 |
function setup() { createCanvas(400, 400) // Use a cross for the mouse pointer cursor(CROSS) // also: ARROW, HAND, MOVE, TEXT, or WAIT } function draw() { background(220) // Draw a circle wherever the mouse pointer is ellipse(mouseX, mouseY, 40, 40) } |
Here I specified the argument CROSS, but you can also use ARROW, HAND, MOVE, TEXT, and WAIT – try these out and have a look at the p5.js online reference for more details.
Moving background()
 You know that every time the background() function is called it fills the drawing canvas with a background colour you specify. When this happens everything else on the canvas gets covered over with the background colour. Try moving the background() function call into the setup() function such that it only happens once when the program starts (see line 5, below).
|
1 2 3 4 5 6 7 8 9 10 11 |
function setup() { createCanvas(400, 400) // Fill the background only once background(220) } function draw() { // Draw a circle wherever the mouse pointer is ellipse(mouseX, mouseY, 40, 40) } |
Pretty cool eh? Usually, you would want the background() function to erase the canvas every time draw() is called, but this can be a useful technique in some animations.
The Previous Mouse Position
 But wait, there’s more! In addition to mouseX and mouseY to get the current mouse position, you can use pmouseX and pmouseY to get the previous mouse position; that is, where the mouse was the last time draw() was called automatically. Using these new system variables we can produce a simple line drawing program.
The key is line 11. Each time draw() is called, I draw a small line segment connecting where the mouse was the last time draw() was called and its current position. This process continues every time draw() is called giving the ability to produce a beautiful freehand sketch (like this one!) using the mouse. See if you can make a better drawing than me!
|
1 2 3 4 5 6 7 8 9 10 11 12 |
function setup() { createCanvas(400, 400) // Fill the background only once background(220) stroke(255,0,0) } function draw() { // Draw a line between current and previous mouse position line(pmouseX, pmouseY, mouseX, mouseY) } |
You Try!
- Write a program that draws a single line(). One end of the line should always start at the top-left of the canvas (0,0) and the other should follow the mouse pointer. The line should not leave a trail as one end follows the mouse pointer.

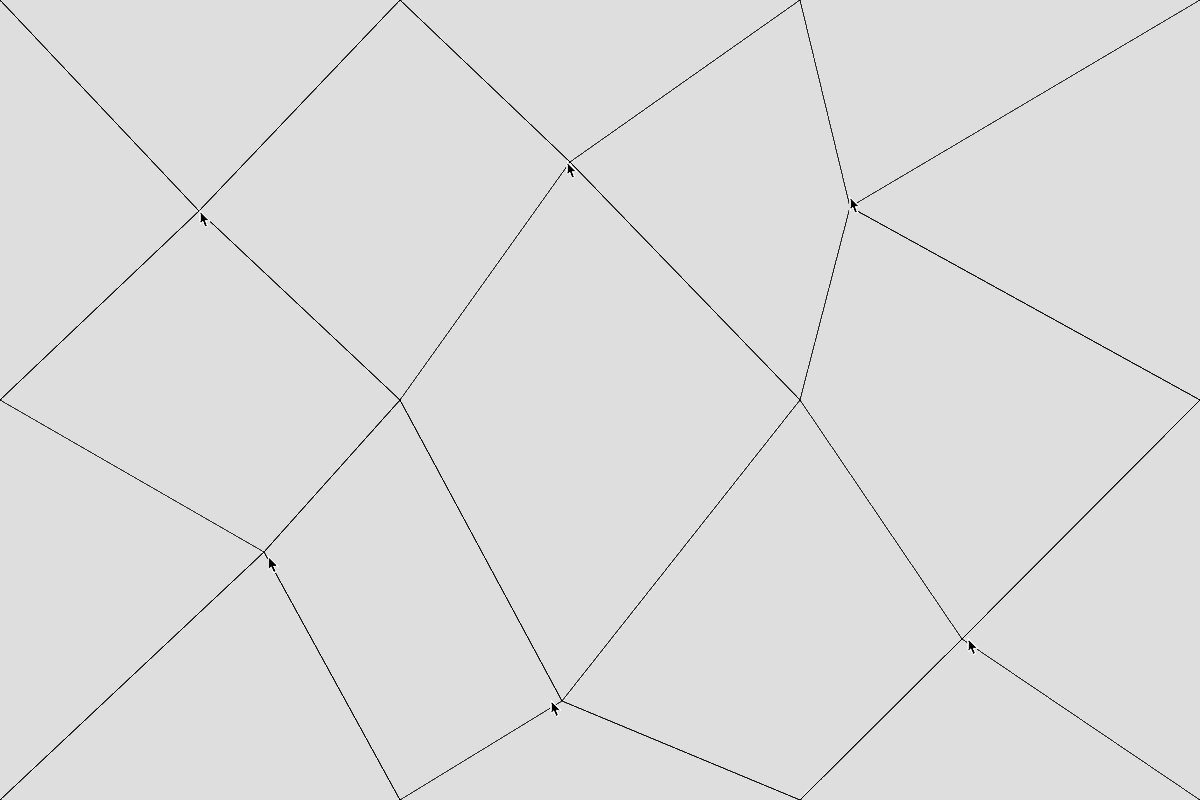
- Modify the program above, such that you draw 4 lines. Each line should have an end attached to one of the four corners of the canvas and the other end following the mouse. Try hiding the mouse pointer this time.
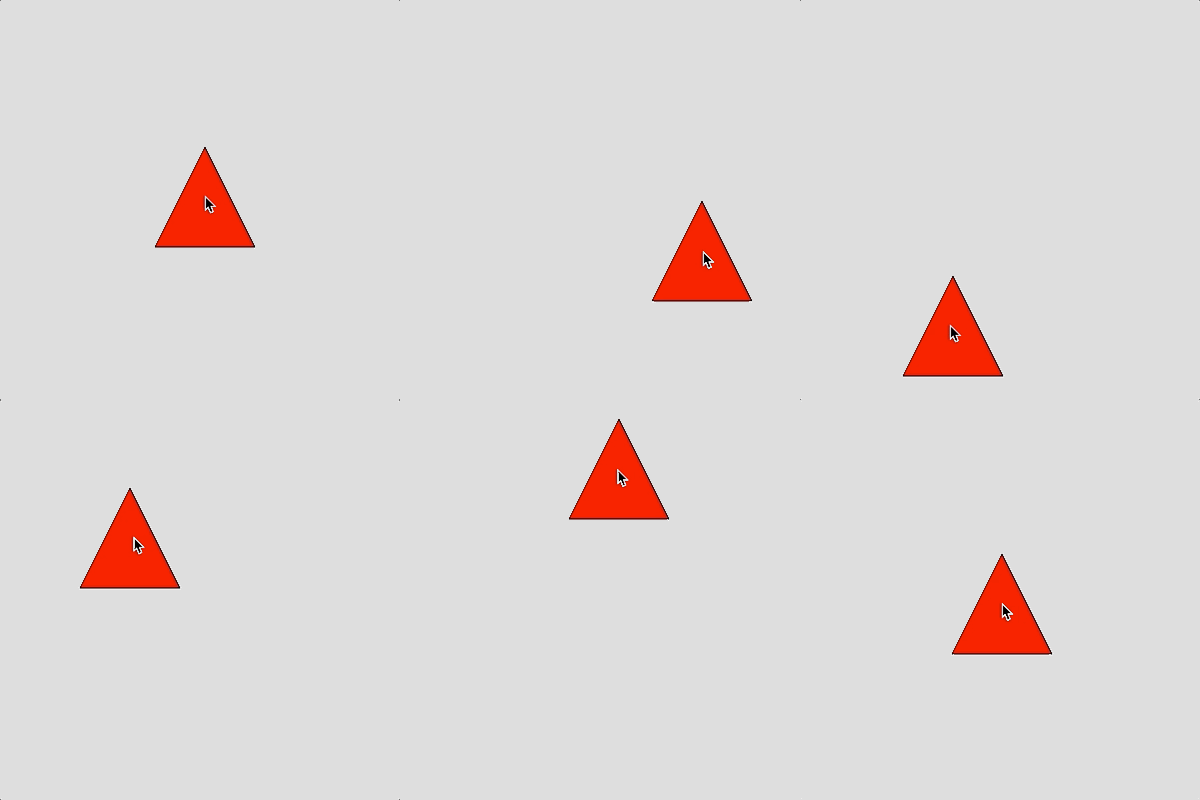
- Write a program to draw a triangle() with its center at the mouse pointer. The triangle should not change size or rotate as it moves. Give each triangle a different fill() colour. Try using a different mouse cursor.
- Write a program that draws four differently colored triangles on the screen. The base of each triangle should be one of the four edges of the screen, and one point of each triangle should follow the mouse pointer. Their bases always stay attached to the screen edges. Give each triangle a different fill colour. Can you do this by only drawing 3 triangles?
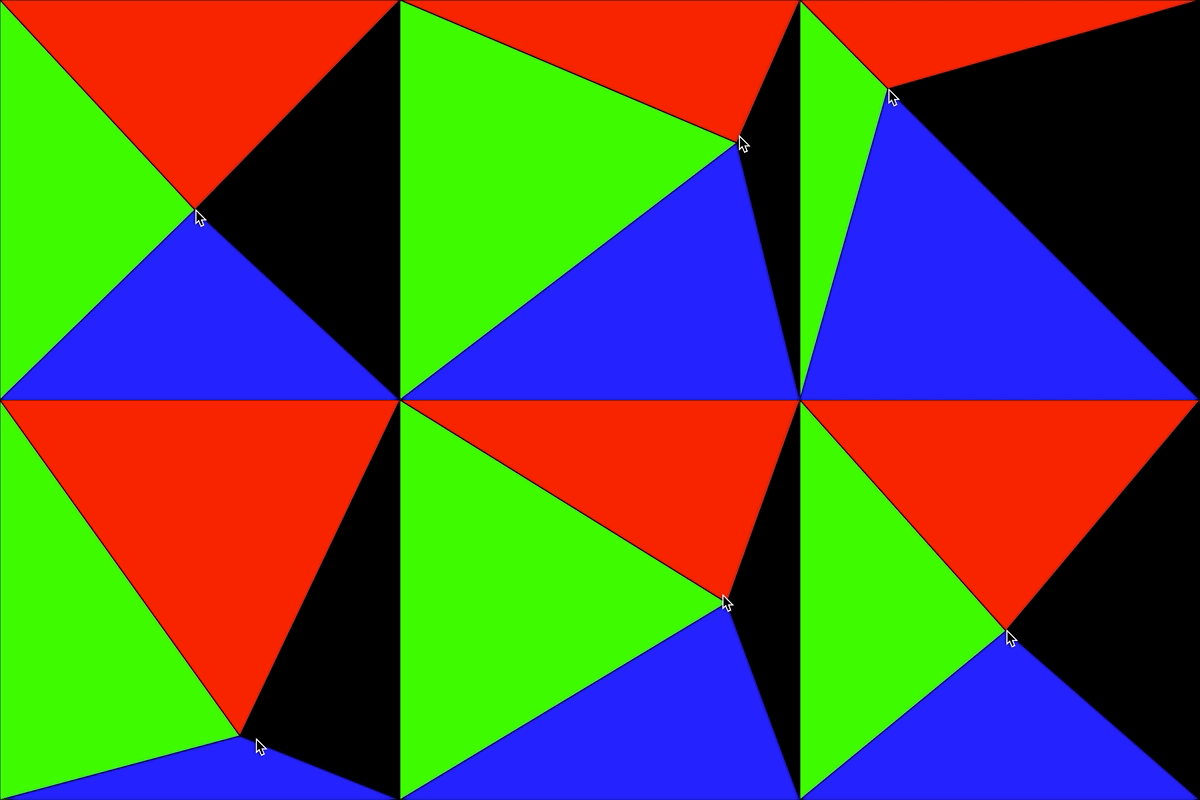
- Research the strokeWeight() function in the p5.js online reference. Modify our simple paint program such that the line thickness is 5. Also, change the background and line drawing colours to something jazzier – you choose!
- Research the frameRate() function in the p5.js online reference. The default in p5.js is 60 fps (frames per second). Play around with different frame rates by calling frameRate() in the setup() function of our simple paint program. What happens if you set a very slow frame rate of 4 or 5?
- Modify the “Virtual Pet” you made previously such that it moves wherever the mouse pointer goes.