Let’s apply everything we’ve learned so far to create some interesting animated effects!
A Toggle Button
You know how to create mouse roll-overs, but what about an interactive button that you can click with the mouse to toggle on or off? Here’s a good first attempt to make a clickable button:
|
1 2 3 4 5 6 7 8 9 10 11 12 13 14 15 16 17 18 19 20 21 22 23 24 25 26 27 28 29 |
let buttonOn = false function setup() { createCanvas(400, 400) } function draw() { // Is the mouse inside the button area AND is a mouse button pressed. if (mouseX > 150 && mouseX < 250 && mouseY > 150 && mouseY < 250 && mouseIsPressed) { // Reverse the state of the button, on <--> off if (buttonOn == true) { buttonOn = false } else { buttonOn = true } print(buttonOn) } // Turn the background on or off based on buttonOn if (buttonOn == false) { background(0) } else { background(255) } fill(255,0,0) rect(150, 150, 100, 100) } |
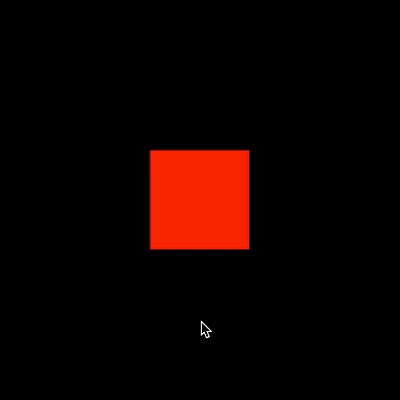 Not bad, but if you try this code you’ll see that it has an undesirable flickering effect. The code behaves like the mouse is being clicked many times when it is only being clicked once. I included the print() function on line 17 to show you every time buttonOn is changed. The problem is that the draw() function is being called 60 times per second, so even the shortest mouse click will often register several times, toggling the buttonOn variable between false and true more than once.
The solution to this problem is to define a mousePressed() event handling function to detect mouse clicks, and then check if it’s within the bounds of the button. This much more accurately detects each mouse click as a single event.
|
1 2 3 4 5 6 7 8 9 10 11 12 13 14 15 16 17 18 19 20 21 22 23 24 25 26 27 |
let buttonOn = false function setup() { createCanvas(400, 400) } function draw() { // Turn the background on or off based on buttonOn if (buttonOn == false) { background(0) } else { background(255) } fill(255,0,0) rect(150, 150, 100, 100) } // When the mouse is pressed, the state of the button is toggled. function mousePressed() { // Check if mouse is also inside rectangle area if (mouseX > 150 && mouseX < 250 && mouseY > 150 && mouseY < 250) { // Reverse the state of the button, on <--> off buttonOn = !buttonOn print(buttonOn) } } |
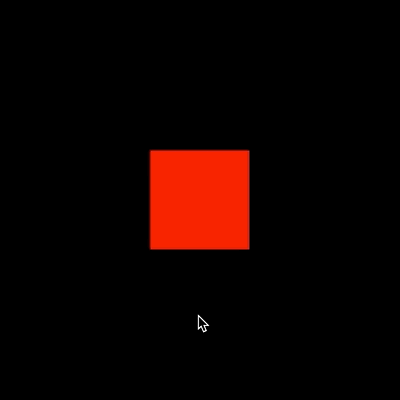 This code works perfectly, no more flickering. You’ll notice a few other improvements to the code. I have replaced lines 11–16 in the old code with just one line:
buttonOn = !buttonOn
Recall that the ! (not) operator reverses a Boolean value. This line will change the value of buttonOn to true if it is currently false, and vice versa. No if statement is needed — very elegant!
Edge Detection
In lesson 1-7 we animated a circle from left to right across the canvas, but then it disappeared off the canvas. Using what we’ve learned about system variables (in particular, width) and if statements we can now detect when the circle reaches the left or right side of the canvas and reverse its direction.
|
1 2 3 4 5 6 7 8 9 10 11 12 13 14 15 16 17 18 19 20 21 22 |
let circleX = 0 let circleY = 200 let speed = 2 function setup() { createCanvas(400, 400) } function draw() { background(220) // Draw a circle using our coordinate variables ellipse(circleX, circleY, 40, 40) // If we've reached an edge, reverse direction if (circleX > width || circleX < 0) { speed = speed * -1 } // Increase the value of circleX using speed variable circleX = circleX + speed } |
 The new code is on lines 15 to 18. Here we simply check if the center of the ellipse has gone beyond the right side of the canvas (width) or left-side (0). The speed variable controls the number of pixels the circle moves in each frame, but it also controls the direction. If speed is a positive integer, the circle will move left to right, and if it is a negative integer it will move right to left. Changing an integer from positive to negative (or the reverse) is easily done by multiplying the value by -1 i.e., 2 * -1 = -2 and -2 * -1 = +2.
Gravity
When an object falls, the force of gravity causes it to accelerate (speed up) as it falls. Let’s change the previous example, such that the circle falls from the top of the canvas and bounces up and down.
|
1 2 3 4 5 6 7 8 9 10 11 12 13 14 15 16 17 18 19 20 21 22 23 24 |
let circleX = 200 let circleY = 20 let speed = 1 function setup() { createCanvas(400, 400) } function draw() { background(220) // Draw a circle using our coordinate variables ellipse(circleX, circleY, 40, 40) // If the circle hits the bottom, bounce up. if (circleY > height-20) { speed = -20 } circleY = circleY + speed // Increase speed (downward) each frame speed = speed + 1 } |
 The circle starts by moving down (speed = 1). In each frame, we add +1 to speed such that the circle appears to fall faster and faster. Upon hitting the bottom of the canvas, speed is set to -20. Since speed is always added to circleY, adding a negative value like this will cause the circle to move up. On each frame, we continue to add +1 to speed, so eventually, -20 will become positive again and the circle will fall again. This process repeats giving a bouncing effect.
Multiple Paths
 Let’s move the circle around the canvas in a clockwise direction!
There are 4 paths (states) to this animation: (0) left to right, (1) top to bottom, (2) right to left, and (3) bottom to top. We’ll use a variable called path to track what state we are in and adjust the direction of the circle accordingly. Once the circle reaches the end-point of its current path, the path variable is changed to activate the next path in the animation.
|
1 2 3 4 5 6 7 8 9 10 11 12 13 14 15 16 17 18 19 20 21 22 23 24 25 26 27 28 29 30 31 32 33 34 35 36 37 38 39 40 41 42 43 44 45 46 47 48 |
let circleX = 20 let circleY = 20 let speed = 2 let path = 0 function setup() { createCanvas(400, 400) } function draw() { background(220) // path 0: Moving left --> right if (path == 0) { circleX = circleX + speed // If we've reached the right side, switch to path 1 if (circleX >= width-20) { path = 1 } } // path 1: Moving top --> bottom else if (path == 1) { circleY = circleY + speed // If we've reached the bottom, switch to path 2 if (circleY >= height-20) { path = 2 } } // path 2: Moving right --> left else if (path == 2) { circleX = circleX - speed // If we've reached the left side, switch to path 3 if (circleX <= 20) { path = 3 } } // path 1: Moving bottom --> top else if (path == 3) { circleY = circleY - speed // If we've reached the top, switch back to path 0 if (circleY <= 20) { path = 0 } } // Draw a circle using our coordinate variables ellipse(circleX, circleY, 40, 40) } |
You Try!
- Modify the Edge Detection example, such that the circle only starts moving if the user clicks on the circle with the mouse. If they click on the circle while it’s moving, it stops again.
- Modify the Edge Detection example, such that the circle moves in a random x and y direction (use random values between -5 and 5). You will need 2 variables to do this, speedX and speedY. The circle should bounce off all four sides of the canvas. The direction that the circle bounces should make sense in terms of physics. For example, if the circle hits the top of the canvas, you should reverse the y-direction, but not the x-direction. Start the circle at (200,100) on the canvas. Do you find that sometimes the circle does not move? Why is this? Try to solve this problem!
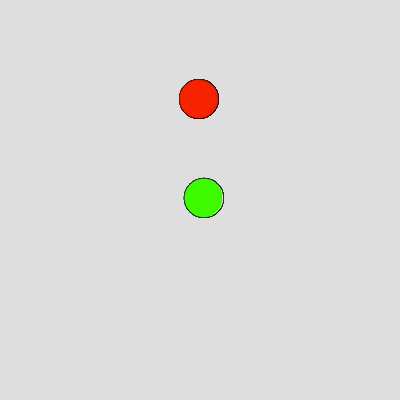
- Modify your solution to Q2 so that you have 1 red and 1 green circle moving in random directions, and bouncing off the edges of the canvas.
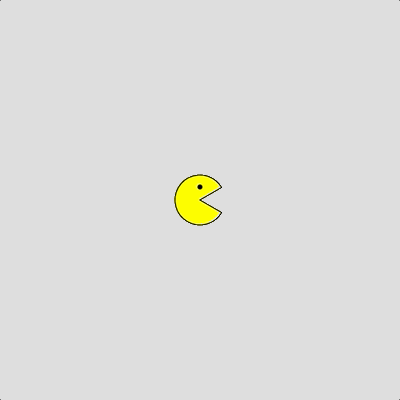
- Extra Challenge: Create a simple interactive PacMan animation. Start by drawing PacMan in the center of the canvas. If the user presses the ‘a’, ‘s’, ‘w’, or ‘d’ keys have PacMan move in the appropriate direction. Pacman should only move vertically or horizontally, not diagonally. If PacMan exits the left or right side of the canvas he should reappear on the opposite side, similarly for exiting the top or button side of the canvas.
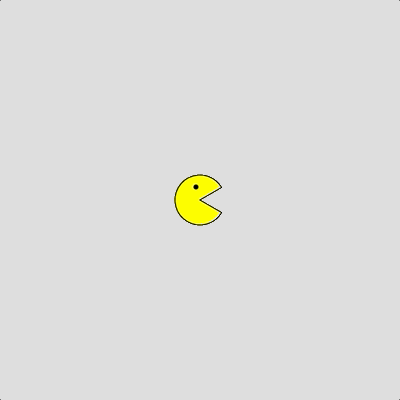
- Extra Challenge: Enhance Q4 such that PacMan is drawn facing in the direction he is travelling in. Don’t forget to adjust his eye position!