Loading an Image
It’s very useful to know how to draw your own images with Pygame, but most of the time you’ll use some other program (e.g., Adobe Photoshop) to create your images and load them into Pygame Surface objects.
Here’s an example of loading an image:
|
1 2 3 4 5 6 7 8 9 10 11 12 13 14 15 16 17 18 19 20 21 22 23 24 25 26 27 28 29 30 31 32 33 34 35 36 37 38 39 40 41 42 43 44 45 46 47 48 |
# I - Import and Initialize import pygame pygame.init() def main(): '''This function defines the 'mainline logic' for our game.''' # D - Display configuration screen = pygame.display.set_mode((640, 480)) pygame.display.set_caption("Load an image") # E - Entities background = pygame.Surface(screen.get_size()) background = background.convert() background.fill((0, 0, 255)) face = pygame.image.load("mrrao.gif") face = face.convert() # A - Action (broken into ALTER steps) # A - Assign values to key variables clock = pygame.time.Clock() keepGoing = True # L - Loop while keepGoing: # T - Timer to set frame rate clock.tick(30) # E - Event handling for event in pygame.event.get(): if event.type == pygame.QUIT: keepGoing = False # R - Refresh display screen.blit(background, (0, 0)) screen.blit(face, (290, 190)) pygame.display.flip() # Close the game window pygame.quit() # Call the main function main() |
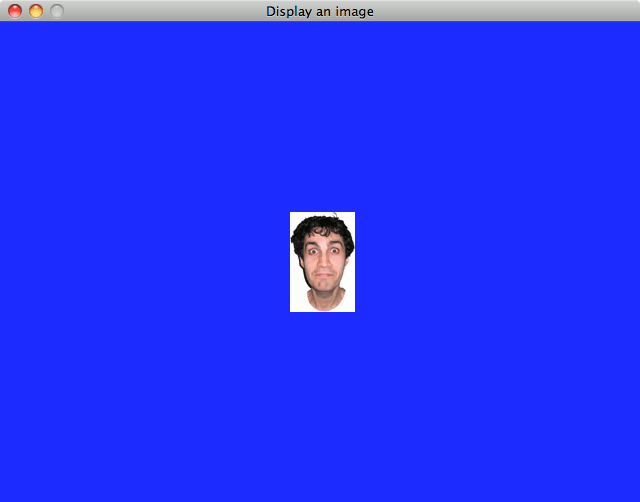
 This code results in a window with a very scary face! Pygame can load images in a variety of formats including GIF, BMP, PNG, and JPG – remember, the convert() method translates any of these formats into a special format used internally by pygame. Lines 17 and 18 show how to load an image (which should be in the same directory as our code), and convert() it for use with pygame. Line 39 blits the face onto the screenwith the upper-left corner of the image at (290, 190). Remember, to make the image appear over the background we must blit the background first, and then blit the face image. All blits are done in order; newer blits will overwrite older ones and will appear in front of them.
Saving an Image
Once you have created a Surface in pygame you can easily save it to disk using the pygame.image.save() function. The following program does not implement the full IDEA/ALTER framework. It doesn’t display anything on the screen, but simply creates a Surfaceobject (in memory) with an interesting pattern of lines on it and then saves it to a file called lines.png. You can specify a .png, .gif, .bmp, or .jpg file extension depending on what output file format you would like.
|
1 2 3 4 5 6 7 8 9 10 11 12 13 14 15 16 17 18 19 20 21 22 23 24 25 26 27 28 29 30 31 32 33 34 35 36 37 38 39 40 41 42 |
# I - Import and Initialize import pygame pygame.init() def drawLines(background): '''draw an interesting pattern of lines on a given surface''' STEPS = 15 width = background.get_width() height = background.get_height() widthStepSize = width / STEPS heightStepSize = height / STEPS for i in range(STEPS+1): pygame.draw.line(background, (0,0,0), (0,(i * heightStepSize)), ( (i * widthStepSize), height) ) pygame.draw.line(background, (0,0,0), ((i * widthStepSize),0 ), ( width, (i * heightStepSize)) ) pygame.draw.line(background, (0,0,0), (width,(i * heightStepSize) ), ( width-(i * widthStepSize), height ) ) pygame.draw.line(background, (0,0,0), ((i * widthStepSize),0 ), ( 0, height-(i * heightStepSize) ) ) def main(): '''This function defines the 'mainline logic' for our game.''' # D - Display configuration # NOTE: We will not display anything in this example. # E - Entities background = pygame.Surface((640,480)) background.fill((255, 255, 255)) drawLines(background) # Save the background surface as a PNG file pygame.image.save(background, "lines.png") # Call the main function main() |
Displaying Text
Pygame treats text as a special kind of Surface. To make text appear on the screen you first create a font object and then use it to render the text that you would like to show. The rendering process creates a Surface object you can blit just like any other.
You have two choices in selecting a font.
-
- The (slightly) easier approach is to use a system font that is already installed on the computer. Windows includes dozens of standard system fonts like Arial, Courier, and Times. The advantage of this approach is that you don’t have to include the font with your program, and you can assume that all users of a particular OS will have the font installed. The disadvantage is that system fonts are usually pretty plain looking.
- The second option is that you can provide a custom font with your game that you load at run-time. The advantage of this is that there are some pretty cool fonts out there to jazz up your game. The only disadvantage of this approach is that you need to provide the font in the same directory as your game code. If you are distributing your game it’s also important to be sure that you have permission to distribute the font with it. Fortunately, there are lots of great license-free fonts out there! Pygame requires font files with the extension .ttf (i.e., TrueType Font).
Here’s some code to demonstrate both approaches:
|
1 2 3 4 5 6 7 8 9 10 11 12 13 14 15 16 17 18 19 20 21 22 23 24 25 26 27 28 29 30 31 32 33 34 35 36 37 38 39 40 41 42 43 44 45 46 47 48 49 50 51 |
# I - Import and Initialize import pygame pygame.init() def main(): '''This function defines the 'mainline logic' for our game.''' # D - Display configuration screen = pygame.display.set_mode((640, 480)) pygame.display.set_caption("display some text") # E - Entities background = pygame.Surface(screen.get_size()) background = background.convert() background.fill((0, 0, 0)) mySystemFont = pygame.font.SysFont("Arial", 60) label1 = mySystemFont.render("Hello World!", True, (255, 255, 0)) myCustomFont = pygame.font.Font("GringoNights.ttf", 50) label2 = myCustomFont.render("Howdy Partner!", True, (255, 255, 0)) # A - Action (broken into ALTER steps) # A - Assign values to key variables clock = pygame.time.Clock() keepGoing = True # L - Loop while keepGoing: # T - Timer to set frame rate clock.tick(30) # E - Event handling for event in pygame.event.get(): if event.type == pygame.QUIT: keepGoing = False # R - Refresh display screen.blit(background, (0, 0)) screen.blit(label1, (100, 100)) screen.blit(label2, (100, 200)) pygame.display.flip() # Close the game window pygame.quit() # Call the main function main() |
The main difference between custom fonts and system fonts is ensuring you have the font available, and using pygame.font.Font() rather than pygame.font.SysFont().
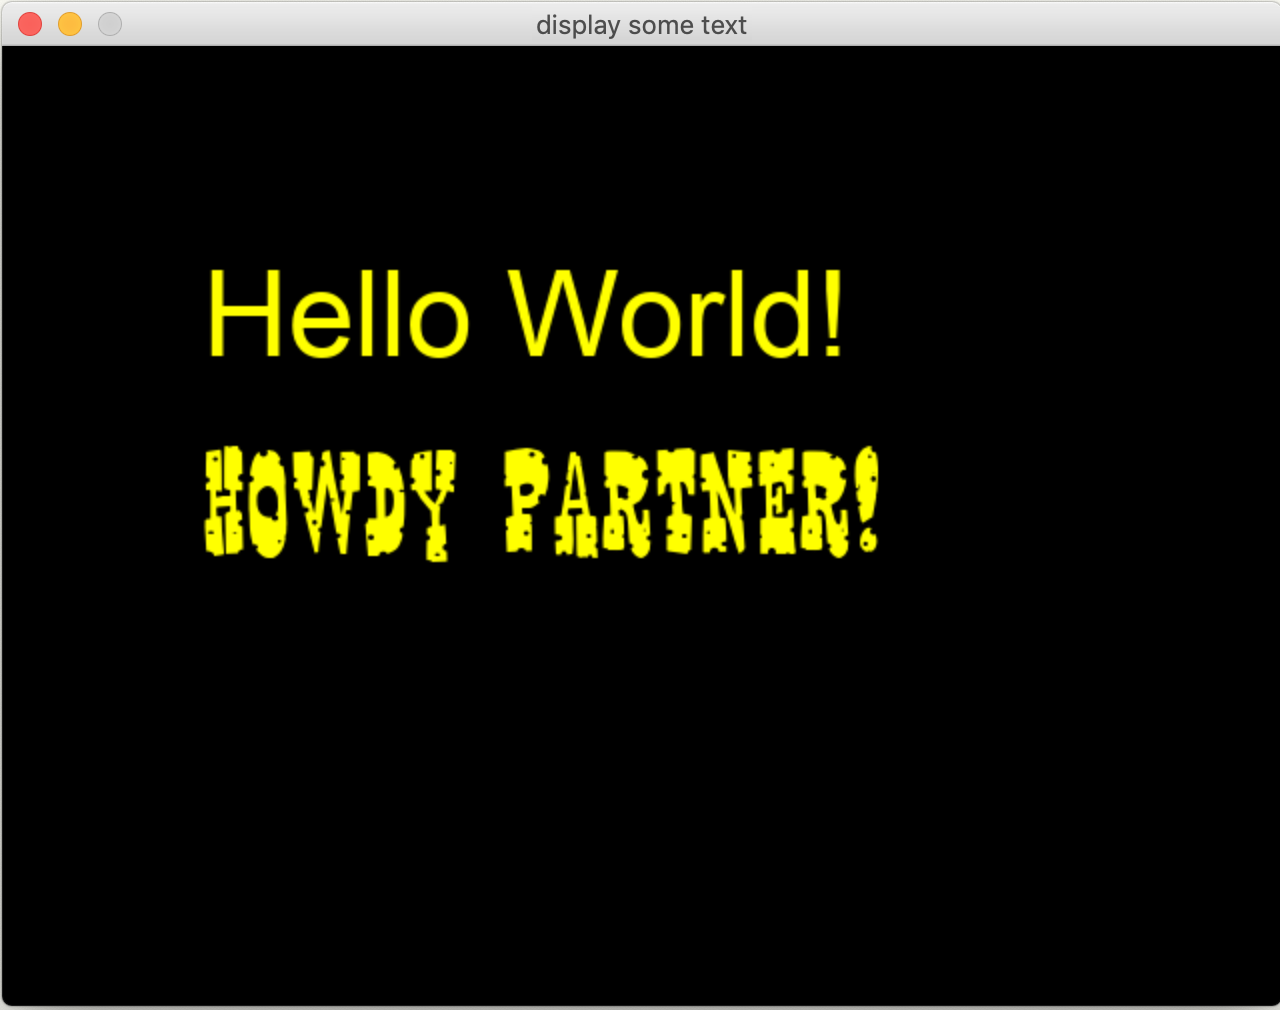
 On line 17 I am creating a font object (called mySystemFont) based on the system font “Arial” with a size of 60 pixels. Line 18renders the text “Hello World!” in yellow (255, 255, 0) using the mySystemFont object and creating a Surface object in memory (called label1). The argument True turns on anti-aliasing (use False to turn this off).
Line 20 creates a font object (called myCustomFont) that it loads from the file “GringoNights.ttf” in the same directory as the game code. The size of this font object is set to 50 pixels. Line 21 renders the text “Howdy Partner!” in yellow (255, 255, 0)using the myCustomFont object and creating a Surface object in memory (called label2). The argument True turns on anti-aliasing (use False to turn this off).
At this point we have not displayed our label1 or label2 Surface objects on the screen, everything has been happening in memory. On lines 41 and 42 we blit these two Surface objects to the screen. Once the pygame.display.flip() function is called, the two labels will appear on the display.
You Try!
- Start a new page in your Learning Journal titled “4-6 Images and Text”. Carefully read the notes above and in your own words summarize the key ideas from each section.
- What is the difference between system fonts and custom fonts?