Supported Image Formats
It’s time to break away from drawing all of our shapes and learn how to load, display, and manipulate image files! p5.js supports most modern image formats like .png, .jpg, and .gif but you need to make sure that the extension is part of the filename and that it correctly matches the format that the image is in.
-
- .jpg format is commonly used for photographic JPEG uses a special compression algorithm to reduce the file size of photographic images at the expense of some image quality (usually hard to notice). This format does not support transparency.
- .png format is best for non-photographic images, such as logos or icons. This format is very good at supporting transparency, which is useful for some special effects.
- .gif format is similar to .png but is a much older format. In most cases, .png is a better format because it has better compression, supports more colours, and has greater levels of transparency than .gif.
Loading an Image
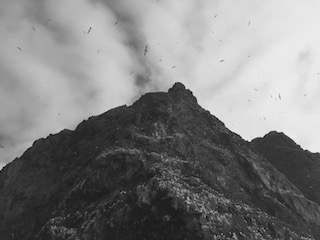
 Loading and displaying an image is actually very easy! The first step is to create/find/download an image file that you’d like to use in a p5.js program; for example this cliffs.jpg image.
Next, when you are logged in to the p5.js online editor you will find an option to Upload file. Use this to upload the image file into the p5.js online editor.
Once the image is among the files for your program, you are ready to load and display it in your p5.js code. Here’s an example:
|
1 2 3 4 5 6 7 8 9 10 11 12 13 14 15 16 |
let myImage function preload() { myImage = loadImage("cliffs.jpg") } function setup() { createCanvas(400, 400) } function draw() { background(220) //The image() function displays the image at a location-in this case the point (0,0). image(myImage, 0, 0) } |
On line 1 we declare the variable myImage that I will use to refer to the image in my code.
 Next, you’ll notice a function that we’ve never defined before. The purpose of the preload() function is to ensure that any images used in your program are loaded before the code in setup() is run. In simple cases (like this one) you could actually just load the image inside the setup() function, but for more advanced image filtering techniques (more on this next time) it’s important to define a preload() function.
In the preload() function, on line 4 we call the loadImage() function specifying the name of our image file as an argument. For efficiency, it’s very important to load all of your images in the preload() rather than the draw() function so that they are only loaded once. The image() function call on line 15 is used to draw the image with its top-left corner at a given (x,y) position. In this case, I’ve positioned the image so the top-left of it is at (0,0) of the canvas.
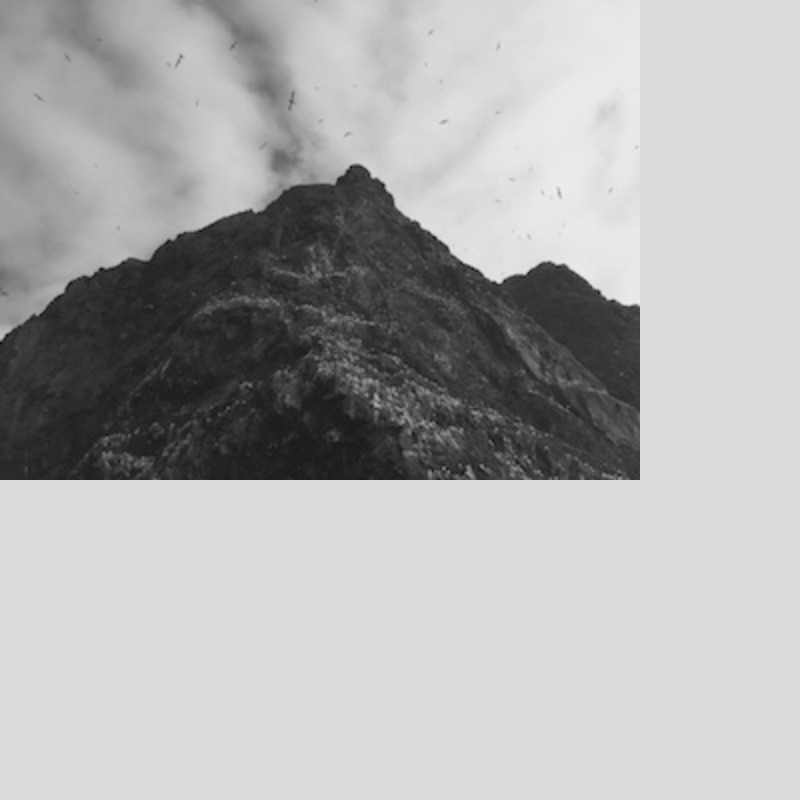
The image() function can also take 2 more arguments that allow you to easily resize the width and height of the image. For example, replace line 15 above with this:
image(myImage, 0, 0, myImage.width/2, myImage.height/3)
and you’ll see that the image is now resized to 1/2 the width and 1/3 the height of the original image. An image is an object, and each object has a width and height attribute that you can access as shown above. Hopefully, you can already see how this might be used to create an animation where an image grows/shrinks!
Using a Folder
Once your programs start to have more than a few images it makes sense to organize them into a folder in the p5.js online editor. Under the Sketch menu, is an option to Add Folder. You can use this to create a folder with whatever name makes sense to you; for example, “images”. You can then upload images into that folder. For example, in this case, I’ve created an “images” folder and uploaded the cliffs.jpg file into it.
Because the image file is no longer in the same folder as our code, we need to add the folder name when loading the image like this:
myImage = loadImage("images/cliffs.jpg")
A digital image is made up of a series of pixels, each with RGB and alpha values.
Setting a Background Image
So far we’ve been setting the background to a solid colour such as white or grey. It’s also possible to set the background to an image:
|
1 2 3 4 5 6 7 8 9 10 11 12 13 14 15 16 17 18 |
let myImage function preload() { myImage = loadImage("images/cliffs.jpg") } function setup() { createCanvas(400, 400) } function draw() { imageMode(CORNER) background(myImage) imageMode(CENTER) image(myImage, width/2, height/2, myImage.width/2, myImage.height/2) image(myImage, mouseX, mouseY) } |
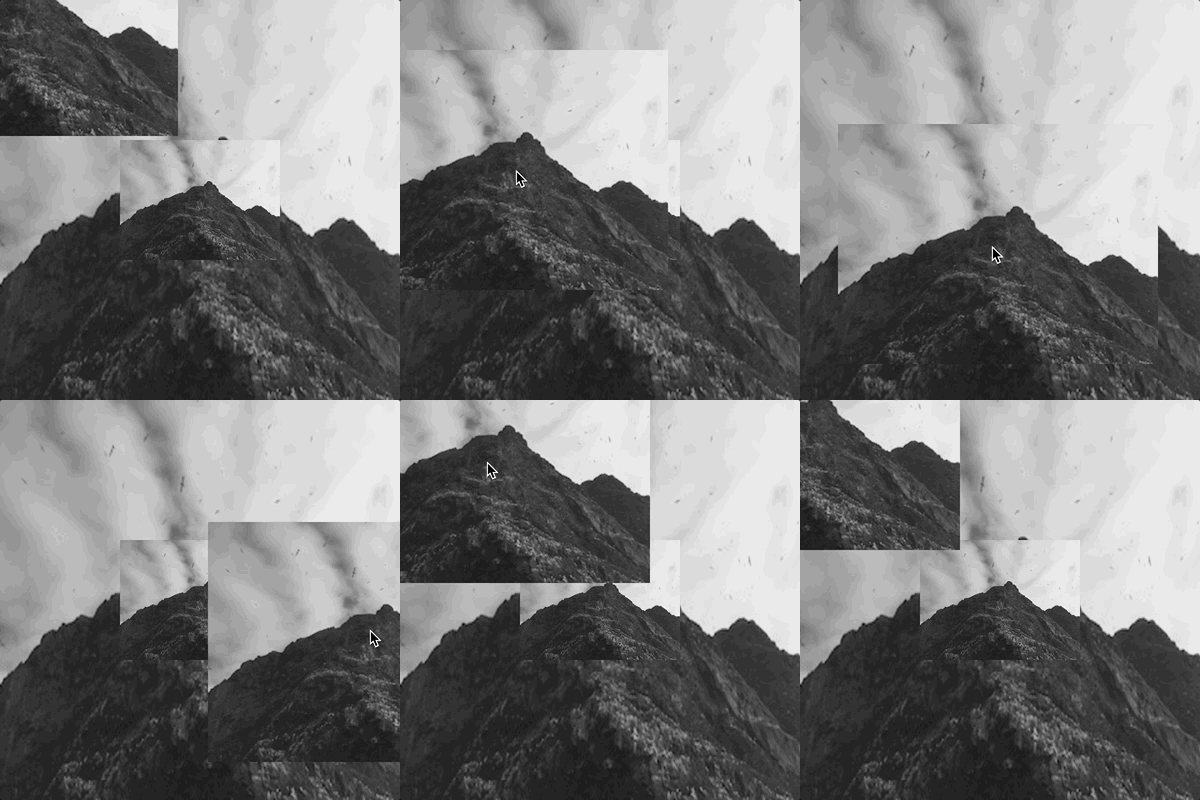
 On line 13, myImage is passed as the argument to the background() function. This will automatically resize the image such that it fills the entire canvas. Line 16 displays a smaller copy of the image centred on the canvas, and line 17 demonstrates moving another copy of the image centred on the mouse pointer. Each time you call the image() function another copy of the image is displayed. The imageMode() function works just like the rectMode() and ellipseMode() functions described in lesson 1-2.
You Try!
-
- Take a selfie, and cut out your head using a photo editor. Once you have an image that you are happy with upload it into the p5.js online editor and create programs that do the following:
- Load and display your beautiful face in the centre of the canvas, including a cool background image as well.
- Create an animation to resize your face (make it grow and/or shrink).
- Create an animation that moves your face around the canvas in a clockwise direction; across the top, down the right, across the bottom, then up the left side.
- Create an animation that involves transformations to make your face rotate as it moves around the canvas!
- Take a selfie, and cut out your head using a photo editor. Once you have an image that you are happy with upload it into the p5.js online editor and create programs that do the following: